
Original Prusa i3 MK2 Build
I got my kit after 6 weeks of wait! I was excited to open the kit but my son opened it for me. I laid out the parts carefully so not to mix them. I followed the build instructions (As of January 28th, 2017). I was using the MK2 kit, not the MK2S (not available at that time). You can follow the build instructions given on Prusa 3d website. I will just add some tips which were not provided in the build manual for my MK2 build.
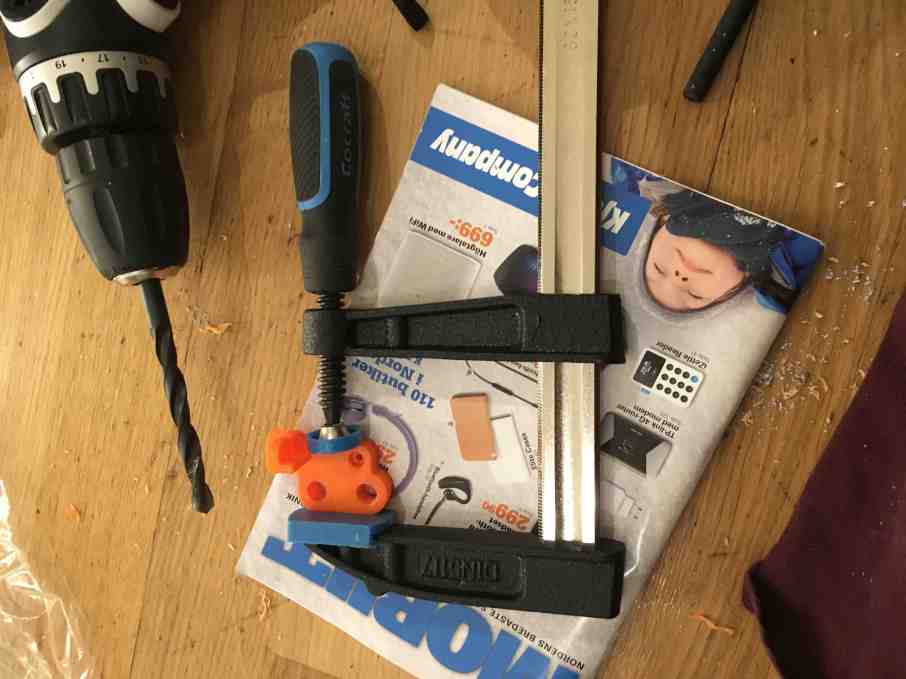
Tip (1) – Vernier Caliper is your best buddy for building!
Yes, whenever possible try to assemble things as precise as possible. Use vernier to check your build at regular intervals to avoid hassles later. Especially when you place the big black nuts. If you measure and place them properly, then making the frame square becomes easier. One way to check the squareness (90 degrees) angle is to verify the diagonals. If they are equal, then you are fine, if not check the placement of nut by calipers and repeat the process again. Having patience at this stage will save you from frustration.


Tip (2) – Do not strip the threads when you place the screws in the frame to attach the Z motor mounts or power supply or electronic housing. One way to avoid stripping is to use just the screws and gently thread the frame before mounting the mounts. By doing this, you can be sure that the screws will enter straight into the hole, not at an angle which is the cause for stripping/breaking.

Tip (3) Do not use a file to enlarge holes use a drill bit or use sand paper on a drill bit and rotate it manually. Otherwise, the hole can become elliptical or irregular.
Tip (4) – Sometimes the calibration routine is iffy at the start. Make sure you run the calibration many times to ensure that you get the calibration OK message repeatedly.
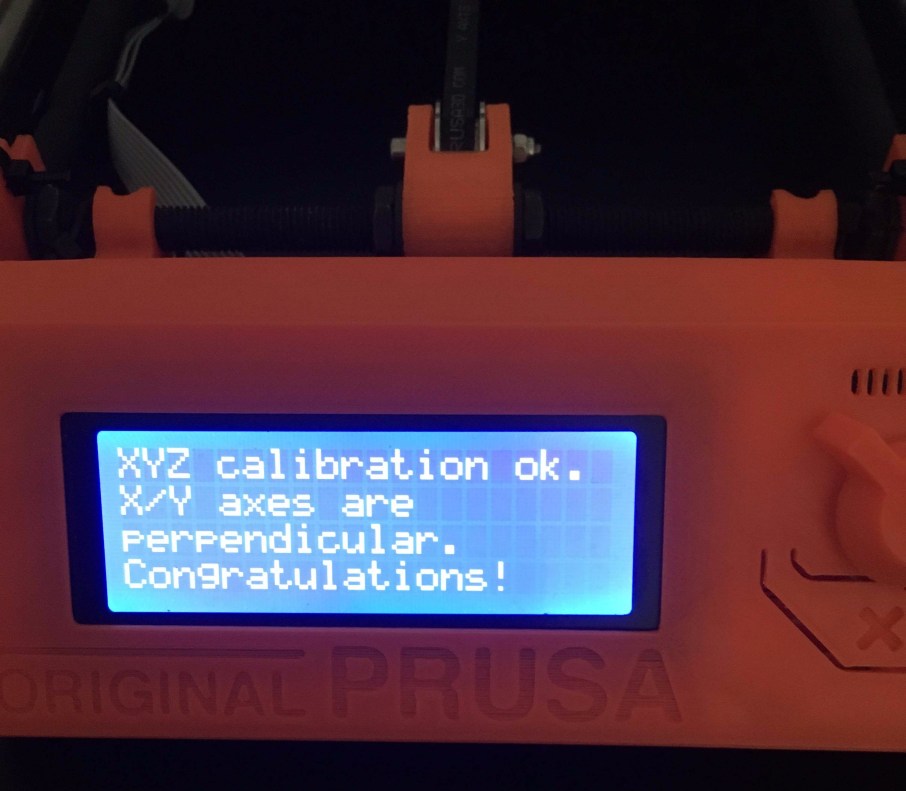
Tip (5) Use V2 calibration code repeatedly and do live Z adjustment to make sure the first layer sticks across the bed length and width
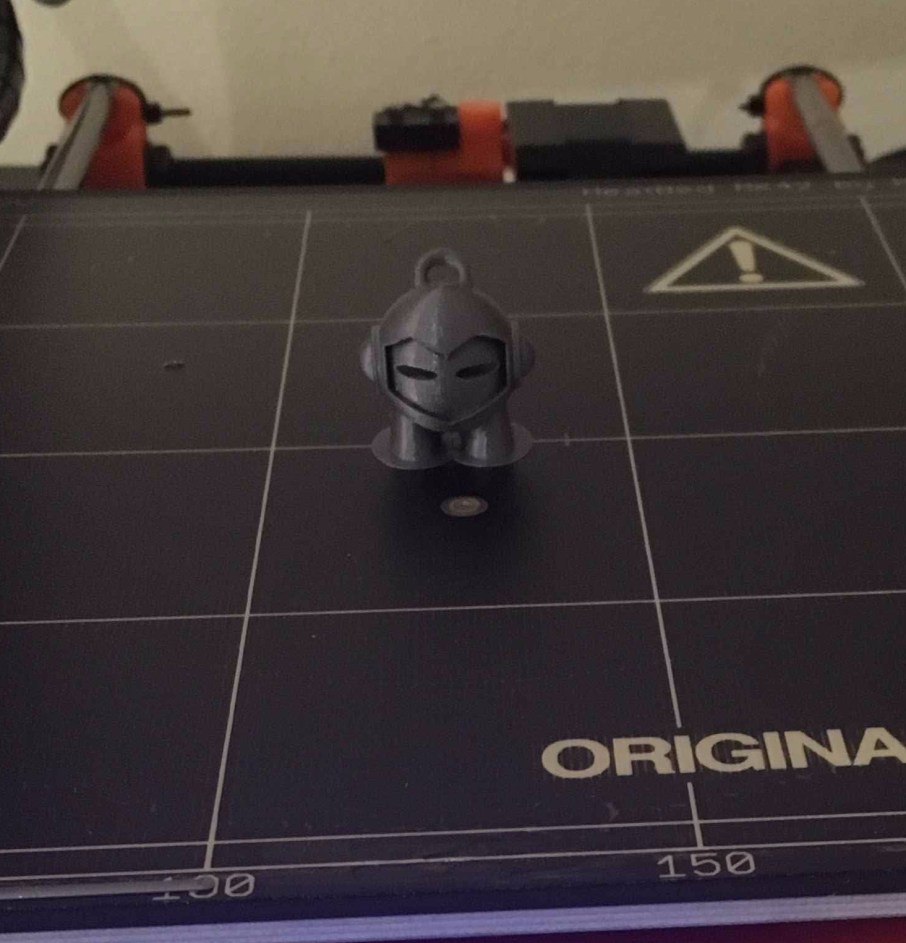
Tip (4) – Print Prusa logo. Pause print after the first layer and measure the thickness of Prusa Logo. If you are not satisfied, try the live z-adjustment again. Once you are satisfied with the first layer, print the complete Prusa logo.

Tip (5) Relax!!
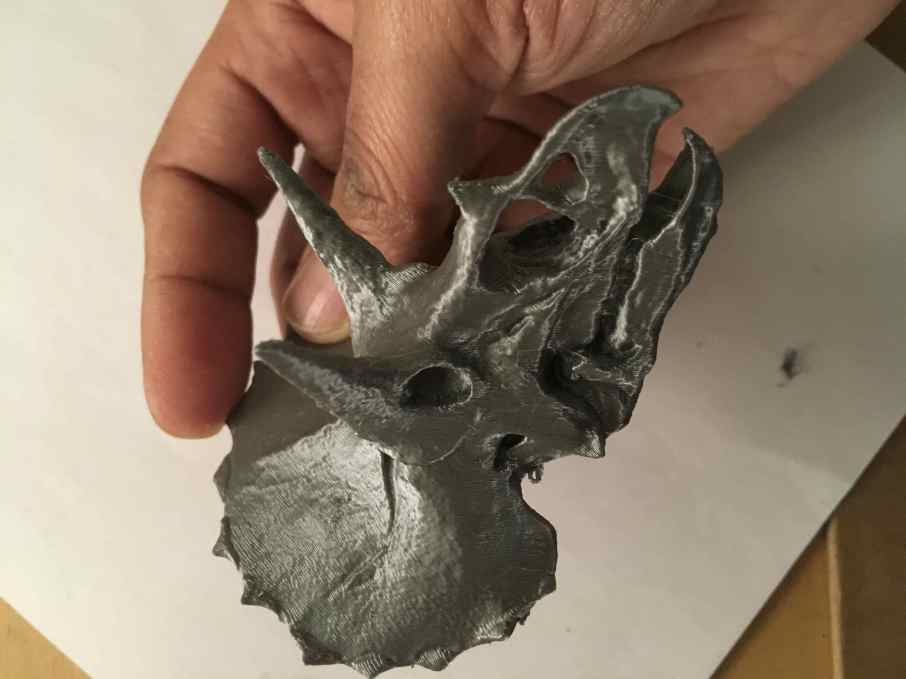
My prints after calibration!!


Tip (6) Maintain and lubricate the motion system
When you are done with one roll of filaments, its time to maintain the motion system
(i) Tighten the grub screw in the pulley
(ii) Check the belt tension
(iii) Wipe the smooth rods with solvent and use lithium grease, slide the x carriage and y bed for 3 or 4 times. Wipe the extra grease and make sure that no dust is sticking to the grease. The dirt can sometimes grind or hinder movement. If you have dust, wipe it with acetone and reapply the grease.
I have a gallery of pictures from my build post. If you are interested, have a look here:
https://goo.gl/photos/aQbckrLzNqjxF4x28
So far, my journey with Prusa i3 is very satisfying!! I will try some complicated prints in the future and share my experiences in learning the slicer.
