
Delta – Extruder – Bondtech BMG – Conclusion
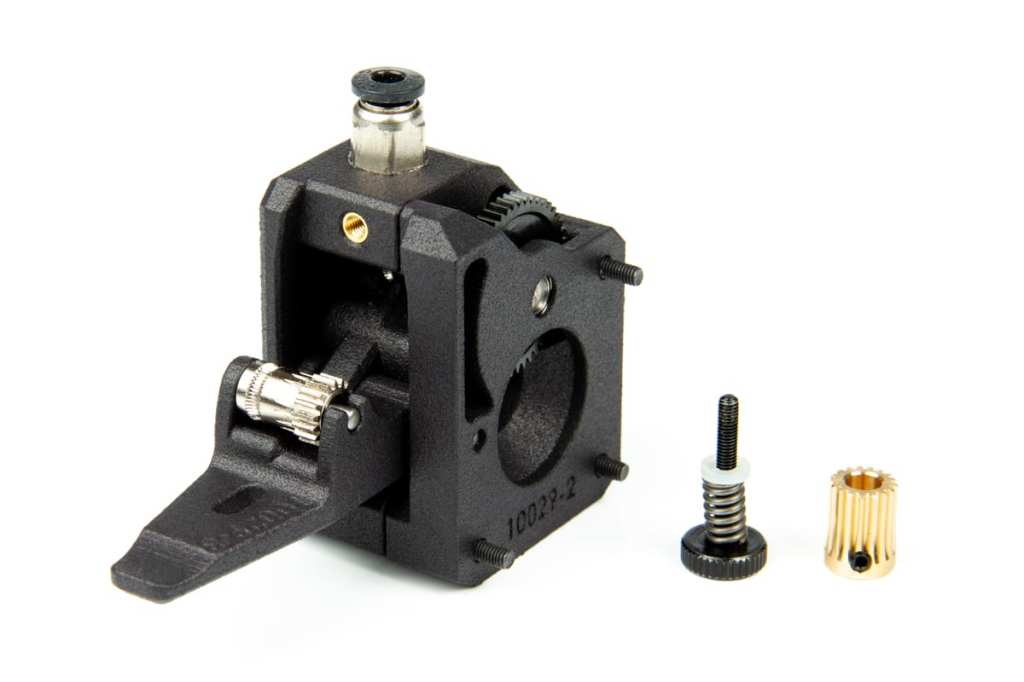
In this post, I will write about my experience with Bondtech BMG extruder. Bondtech uses the same 3:1 gearing ratio of Titan Extruder to push the filament into the hotend but the main difference is the dual hobbed gearing. In Bondtech, there are two hobbed gears, one attached to the big acetal gear driven by Nema 17 stepper motor and another one an idler. These two gears have a very good grip on filament and delivers uninterrupted feed of filament without grinding or slipping even at high printing speed and too frequent retractions. The filament path is fully guided with tight tolerances, which means you can use flexible filaments without any problem of misfeeding.
Another feature is the thumbscrew tensioner, which allows the user to fine-tune the pressure exerted by the drive gears onto the filament. It gives me the freedom to adjust the pressure according to my preferences and to optimize for the type of material. This is a feature I was missing in Nimble extruder. You can have a look at the BMG extruder in the following pictures:

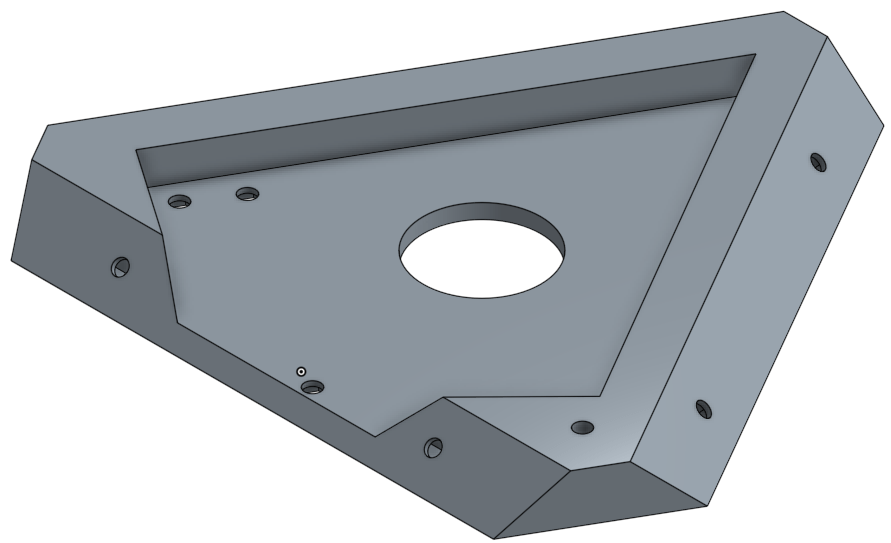
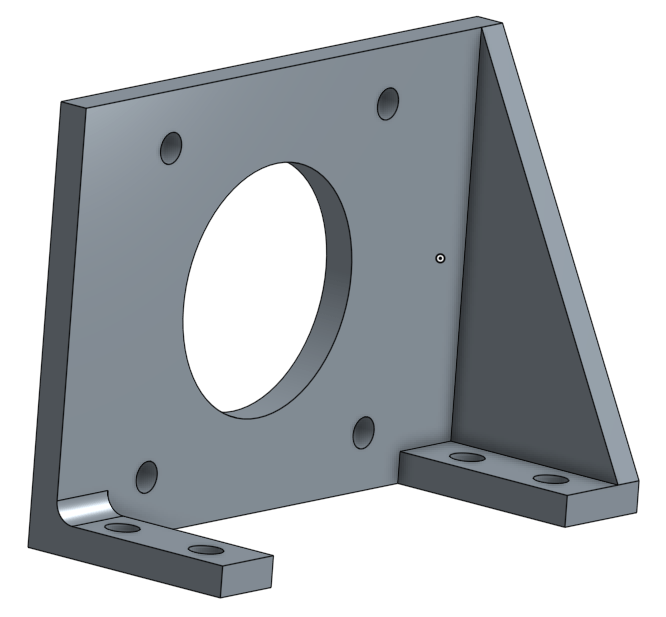
For mounting the extruder, we need to design an effector. Since BMG is very similar to Titan in shape (but slightly larger), I did some minor modifications on the effector plate I used for Titan and I had to use 20mm pancake stepper motor to squeeze them into the same space. Bondtech has a 3:1 gearing so it is sufficient to use the 16Ncm pancake motor.The effector and motor mount STL files are provided. You can look at them in the following pictures.

I also wanted to use volcano heater block, which has a large melt zone and in combination with large diameter nozzles, it can print wider tracks and large layer height to reduce print time. Large layer heights create better inter layer adhesion and hence stronger parts. You can see the large heater block for large melt zone. I use volcano with 0.4mm nozzles to print faster, the printer speed is dictated by the melt rate of the hot end and good mechanics. If you get your printer mechanics right, tune your prints and want to go faster, it is the hot-end which is a bottle neck.
For most of the prints, it is not. The practical volumetric flow rate of ordinary E3D heater block is 11.5 mm3/s (Prusa help page). It also varies for different filaments based on it viscoelastic properties. You can calculate your printer speed limit using this formula.
Max volumetric speed = Layer Height × Extrusion Width × Printer Speed
For a 0.4mm nozzle with 0.2 layer height and 0.45mm layer width, the maximum speed you can go with your printer is 127 mm/s. Even at 70% of this practical limit, you can reach a speed of 90mm/s.
In the case of thicker prints, let us say 0.6mm nozzle, if I use 0.4 mm layer heights and 0.75 layer width, the maximum speed with regular heater block is 38 mm/s, which is a low speed for any printer even with high mass. In this particular case, volcano helps. The volumetric flow rate of volcano is 25 mm3/s, so for the same 0.6mm nozzle configuration we can reach a speed of 83 mm/s, which is a high speed even for cartesian printers.
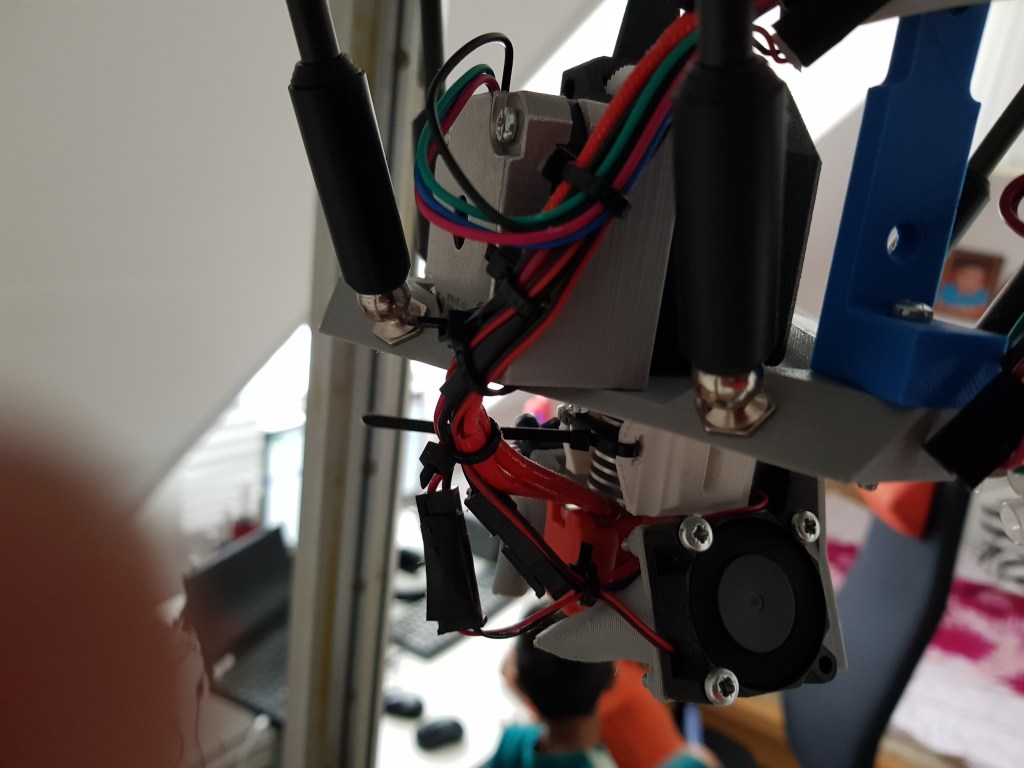
I don’t drive my delta at this speed (80-90) because I have a direct drive effector (high mass), so a high inertia leading to ringing of prints. For me, a standard e3d heater block should suffice but I wanted to try volcano, so I went ahead with it anyway. Do not forget the silicon sock for volcano. It comes in a nice orange colour. You can see the large heater block and melt zone of volcano in the picture below:

Since volcano block is a bit larger, the height from effector plane to nozzle has changed, so I had to redesign the part cooling fan mount. I used this fan mount from Thingiverse. I printed a couple of them, one for each side. Here is the assembled effector configuration for bondtech:


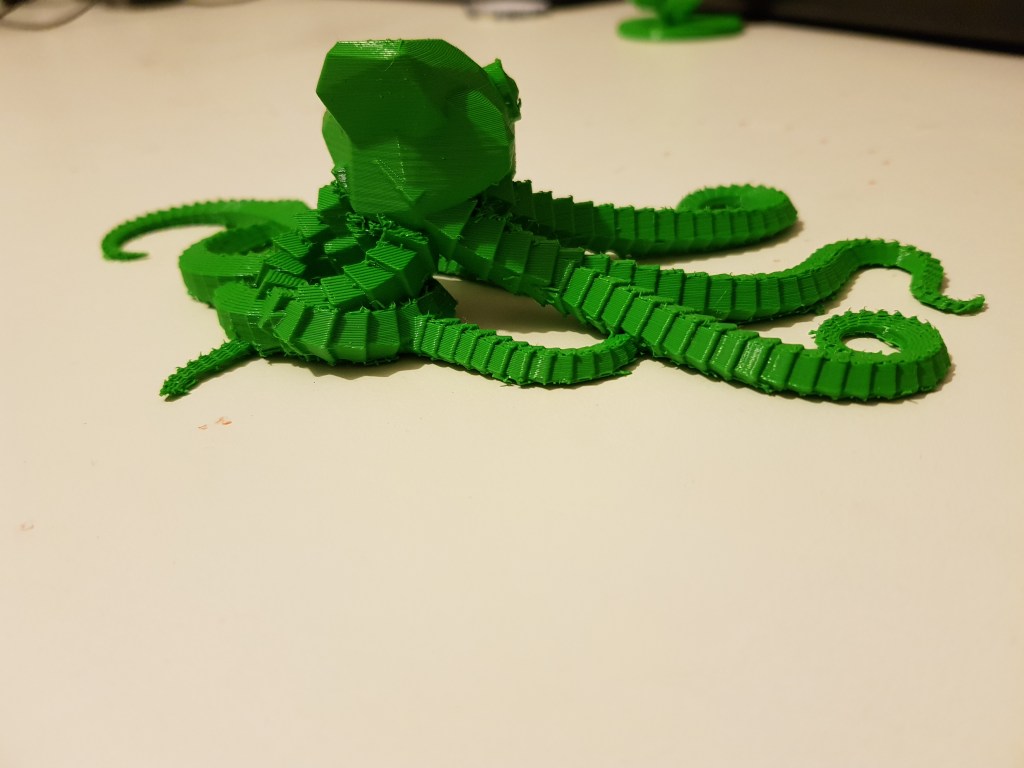
I used both brass and hardened steel nozzles but I printed only PLA with this setup. Prints were equally good in both the setup. I usually prefer hardened steel nozzle so that you can print any filament in the system without changing it. Here are the prints from this setup:
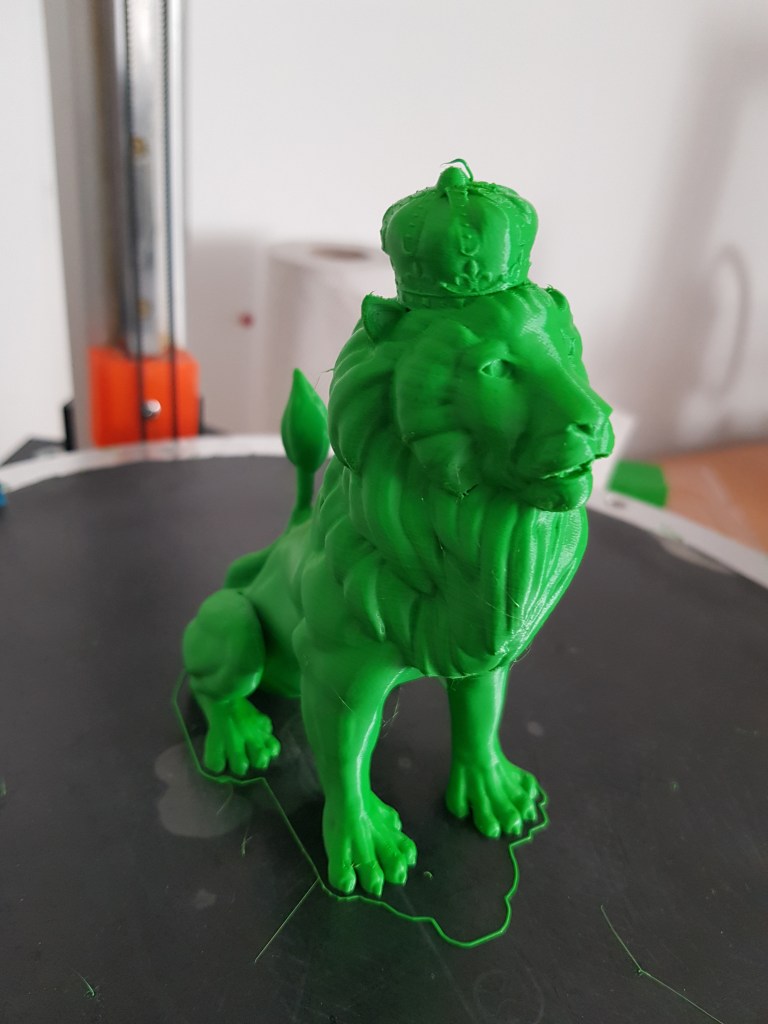
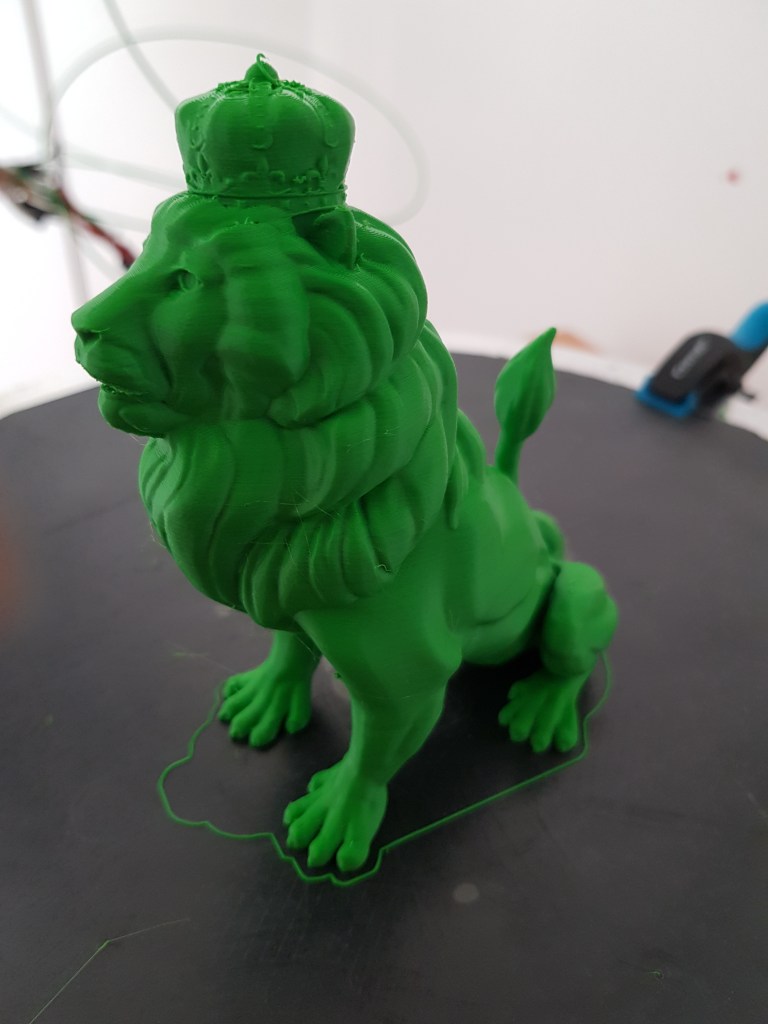
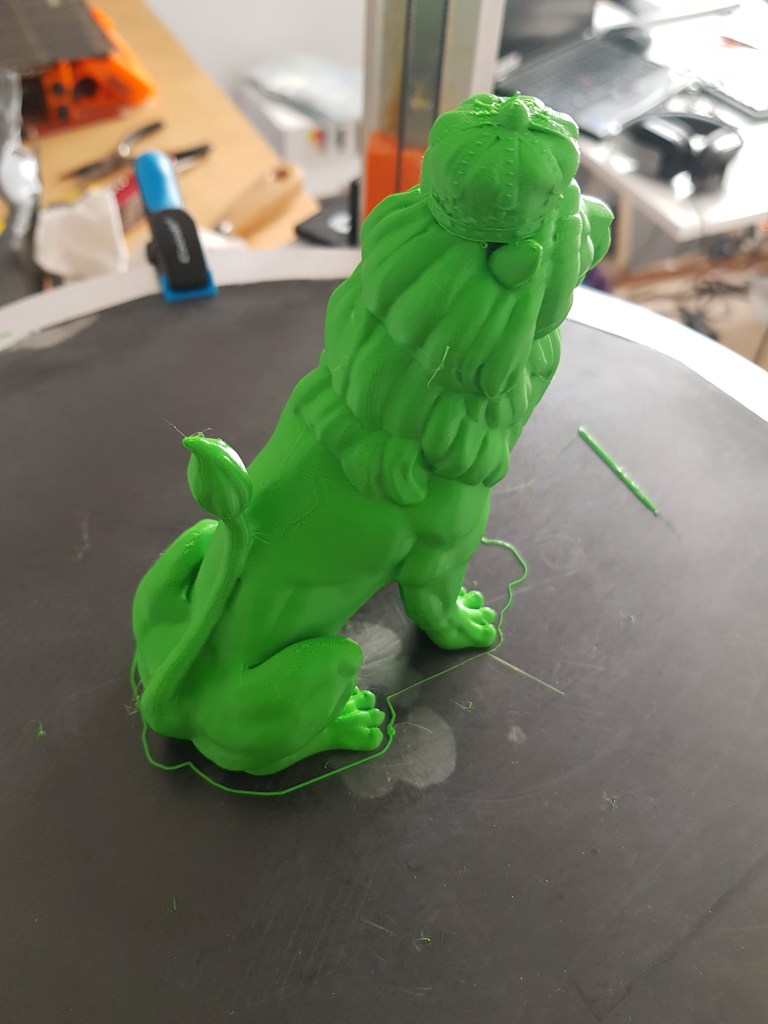


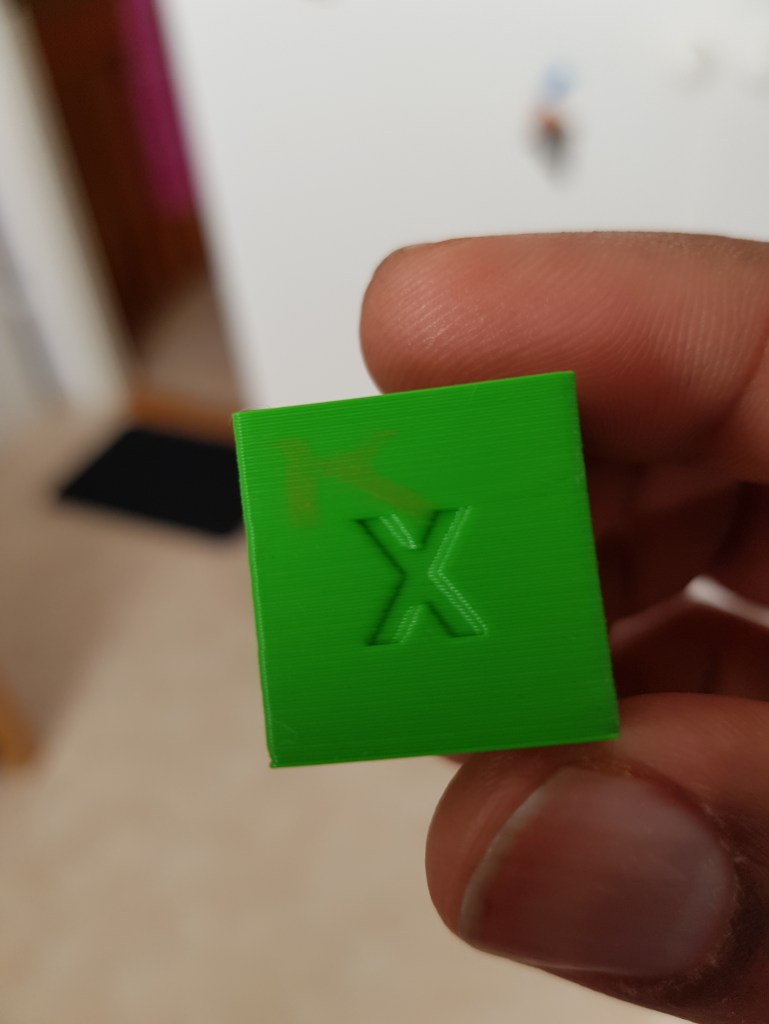
The famous XYZ calibration block:
Conclusion:
As I got more experience with 3D printing, I became better at tuning the prints and getting the most of the system (mechanical build wise and software wise). I would like to show you again the 10 experiments table I mentioned in the introduction post.
| S.No. | Extruder | Heater Block | Nozzle | Heat Sink & Cooling | Part Cooling |
| 1. | Titan | Regular | Brass | E3DV6-Air | Fan |
| 2. | Nimble | Regular | Brass | E3DV6-Air | Fan |
| 3. | Nimble | Regular | Brass | E3DV6-Air | Smart Effector+Fan |
| 4. | Nimble | Regular | Brass | E3DV6-Air | Berd Air |
| 5. | Nimble | Regular | Brass | Kryo – Water | Fan |
| 6. | Titan Aero | Regular | Brass | E3DV6-Air | Fan |
| 7. | Titan Aero | Regular | Hardened Steel | E3DV6-Air | Fan |
| 8. | Bondtech | Regular | Brass | E3DV6-Air | Fan |
| 9. | Bondtech | Volcano | Brass | E3DV6-Air | Fan |
| 10. | Bondtech | Volcano | Hardened Steel | E3DV6-Air | Fan |
Of all these 10 experiments, If I have to pick one set up, I will go with No.10 – Bondtech Setup with Volcano block and hardened steel nozzle with FSR as z-probe. It is my favourite set up because I could get fantastic prints out of the box. No need to tune much. I like the dual gear setup for filaments. It is very reliable and never had any issue with Bondtech.
My second pick would be, Nimble with smart effector. Except for the cramped space in the effector, it is a capable set up which can print any material thrown at it. In fact, I would say it is one of the best options for delta printer. Why I chose this setup as second, is the nimble extruder, it is no match for bondtech but it is a close second. It needs some attention while setting up but once tuned, it is very good. Another gripe I have about nimble is the lack of adjustable tension compared to Bondtech. Otherwise, it is a fantastic setup.
Its been two years since I used nimble, moreover, I was using v1.1, things might have changed now, you might not need so much tuning right now.
Regarding Titan and Titan Aero, I would say, they are very decent performers, If not for the bearing gate, they would have won my heart. If you are using delta printer, I would suggest you to go with Titan because Titan Aero needs to have a completely different effector setup which has a large height difference between effector and nozzle plane. Any effector tilt is accentuated at the nozzle or a small bump at nozzle during print can cause the effector plate to come off the magnetic balls. If you need beautiful prints, you have to reduce the speed drastically. If you are willing to go with low speed, then it is versatile (hoping you don’t have any bearing issues). Titan extruder on direct drive setup also performed very well. I did not have any complaint, but the bearing can get rusty over the time.
Bear in mind that my conclusion with Titan and Titan Aero was mainly due to my experience with some faulty Titan and Titan Aero bearings, which were shipped close to 3 years ago. I have heard from people who never had any problems with their Titan/Titan Aero. In short, I would recommend Titan extruder over Aero for delta 3d printing.
TL; DR and my ranking of extruder system specific to my delta printer is:
- Bondtech with volcano, hardened steel nozzle and FSR
- Nimble with Smart effector, hardened steel nozzle
- Titan direct drive extruder
- Titan Aero Extruder
Even though I did all these experiments from Aug 2017 – Oct 2018. I could not get time to document my experiences, but now I forced myself to write these series of posts so that at least someone might benefit and avoid the mistakes I did.
In the next post, I will talk briefly about my slicing experiences and why it is critical to get good prints.
