
Delta – Extruder – Nimble – Part 2
In this post, I will describe my experiences in using Nimble V1.1 with berd air cooling and water cooled heat sink.
You might be tempted to ask, if there are fans for Part cooling and cooling heat sink, why do you need berd air and water cooling? Isn’t it a bit roundabout way of solving the problem? I hear you. I had the same doubts when I started. Think of this scenario, where you have an enclosed printer with heated chamber for printing high temperature plastics. Fans will push this hot air for cooling the part and heat sink, so they will not be cooled effectively. If the cooling system is placed remotely, then it is not affected by the heated chamber and it can cool them effectively.
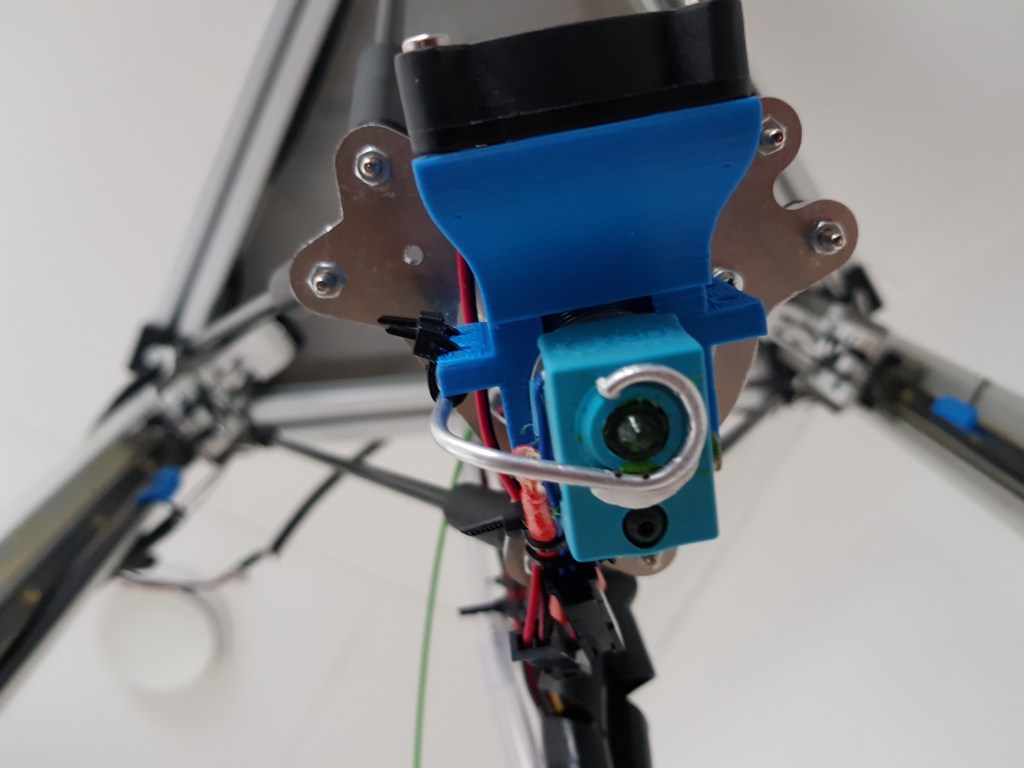
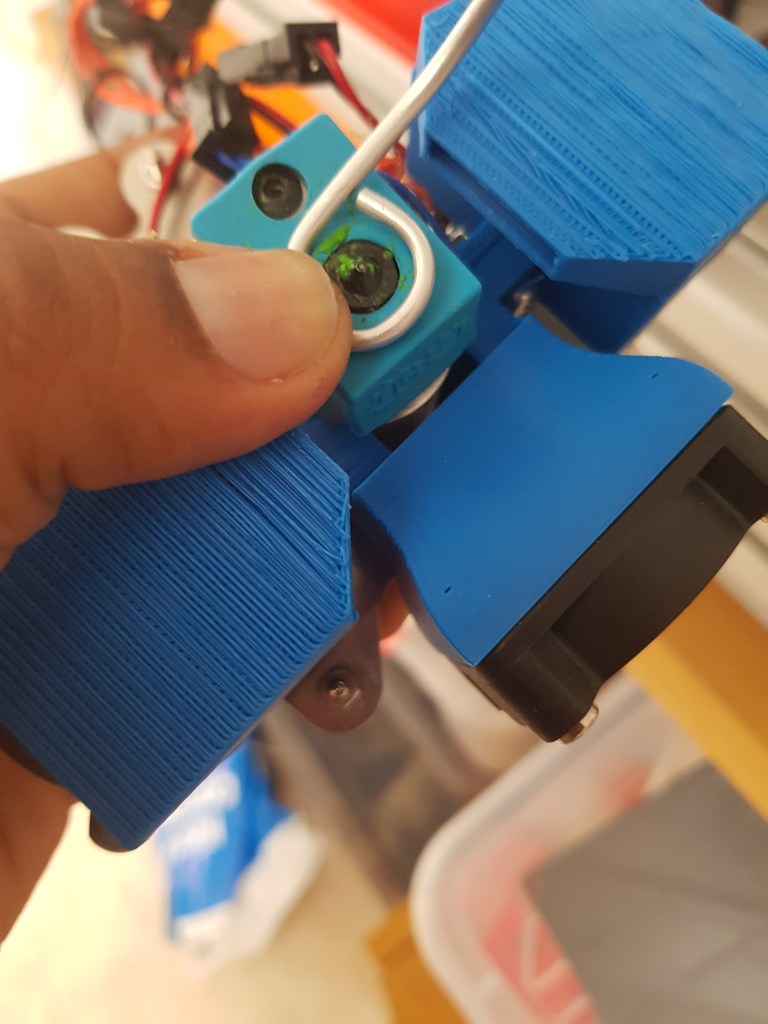
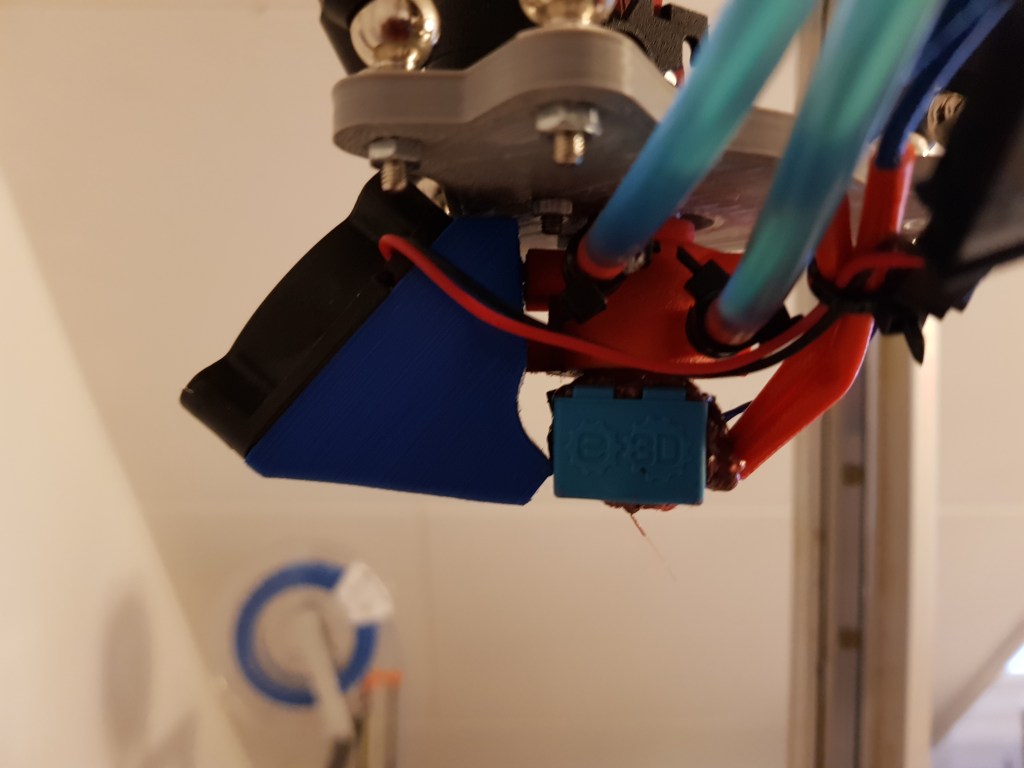
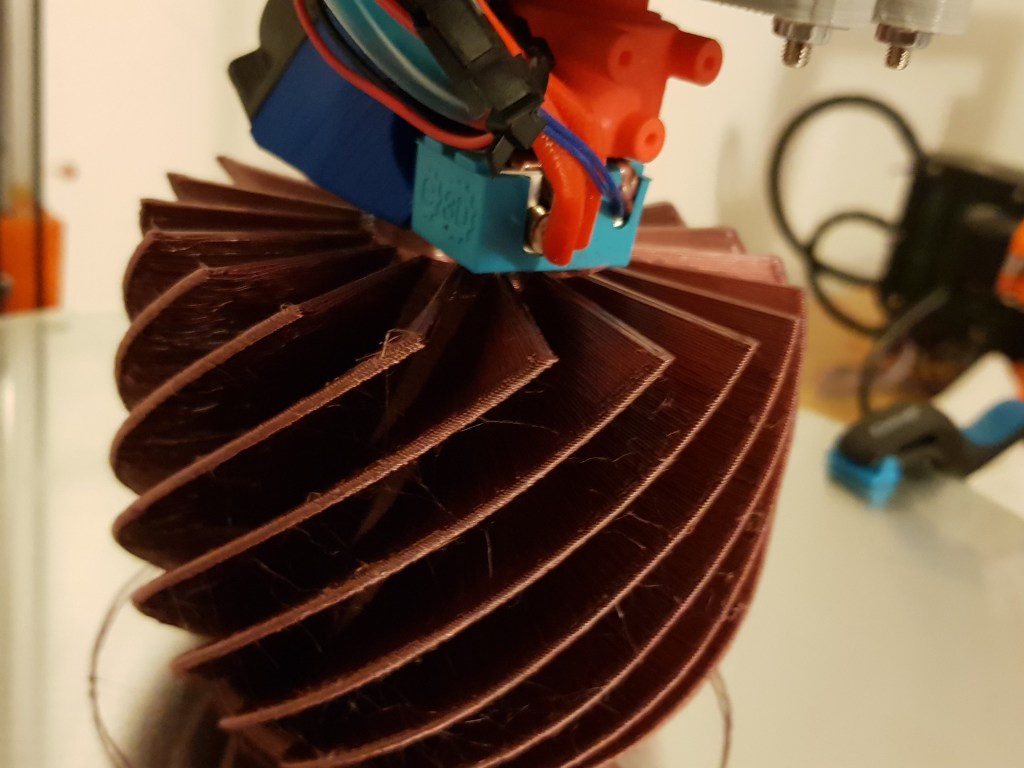
Berd air cooling is a part cooling method, in which an aquarium pump (in green housing) pushes the air via a tube (white transparent) remotely to cool the parts. The white tube is connected to a 4mm id aluminium tube, which is bent around the nozzle. You can notice that the circular bent portion of aluminium tube has holes through which air comes out and cools the parts. You can see them in the following pictures.

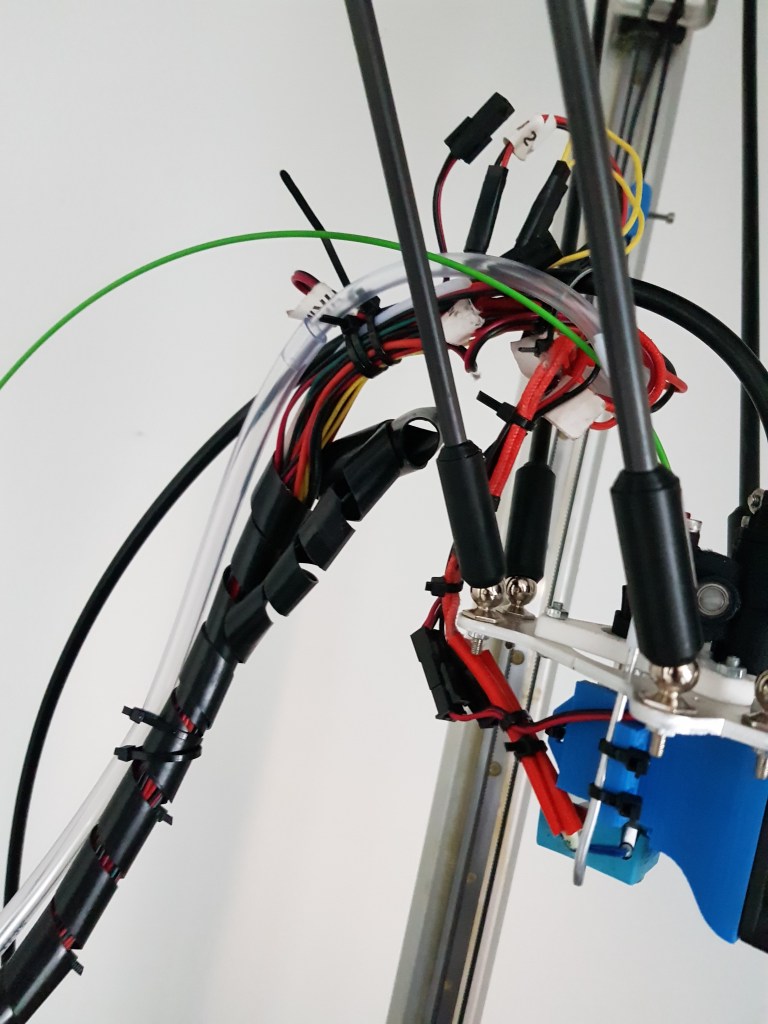
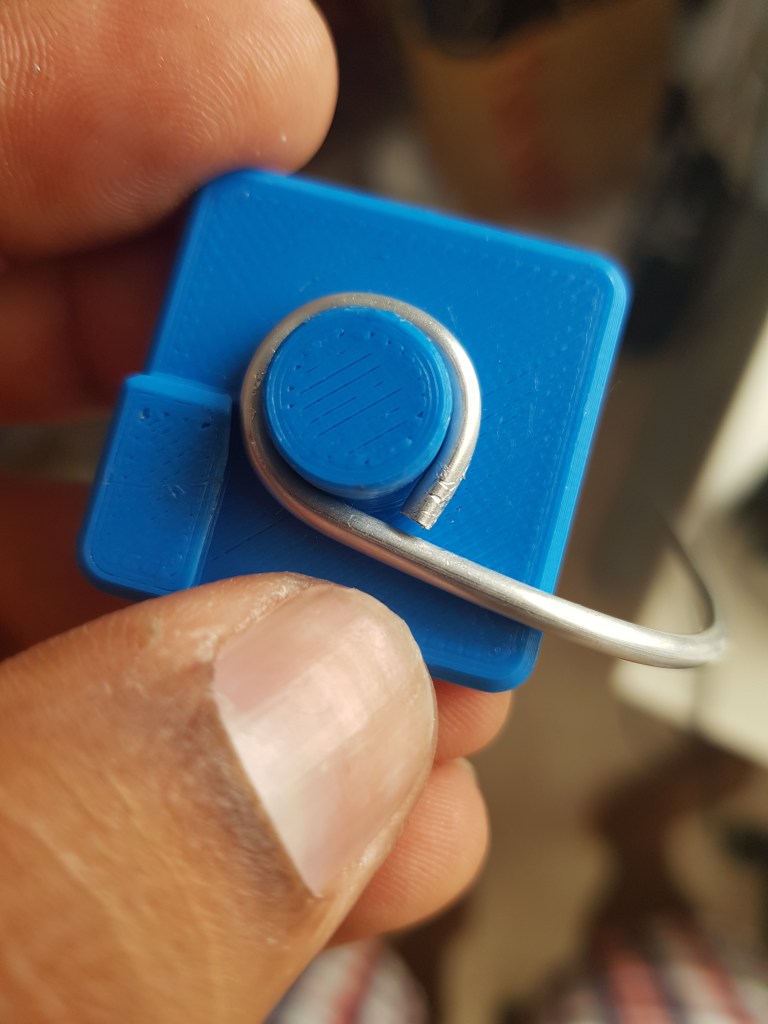
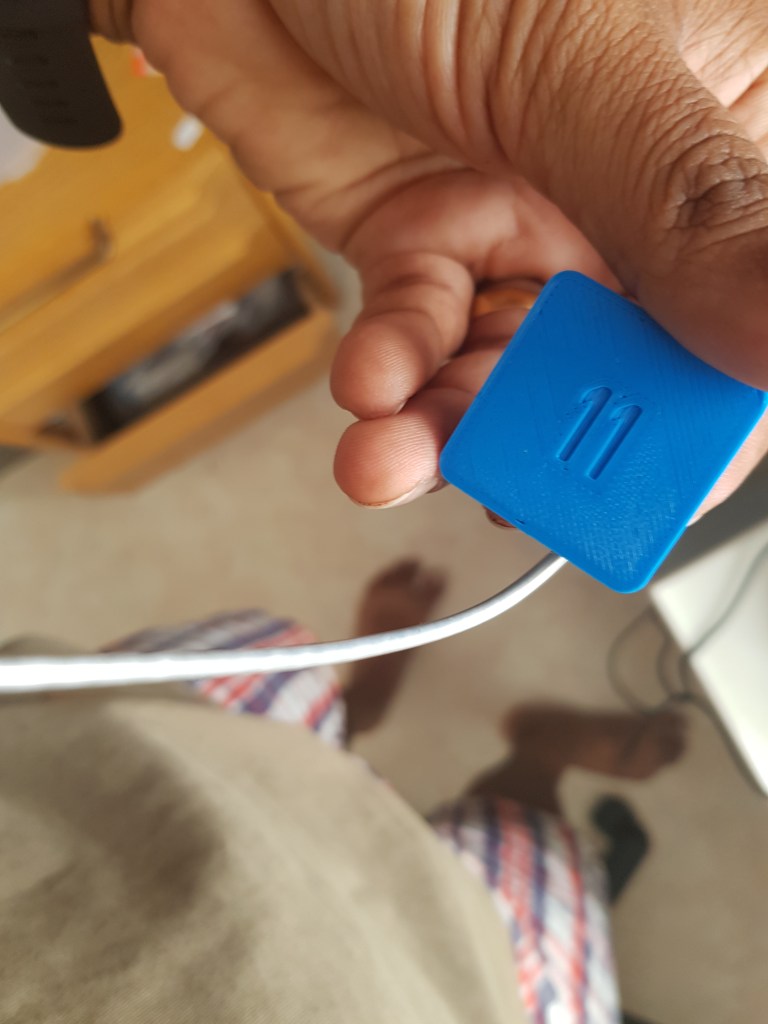
For Berd air cooling, I used the same printed effector mount and heat sink cooling fan mount but without part cooling fans. In addition to that, we need an aquarium pump ( I bought it from Germany at this shop), 4mm OD/2mm ID aluminium tube (you can buy it in hobby shops), I used tube bender of bend radius 11mm from Thingiverse. One tip is to fill the aluminium tube with sand and bend it so it doesn’t have kinks when bending, it will be smooth.
Just make sure that the bent tube sits snugly around the silicon sock near the nozzle. Then proceed to make holes in the tube with 1mm drill. Be careful with 1mm drill, it is easy to break.
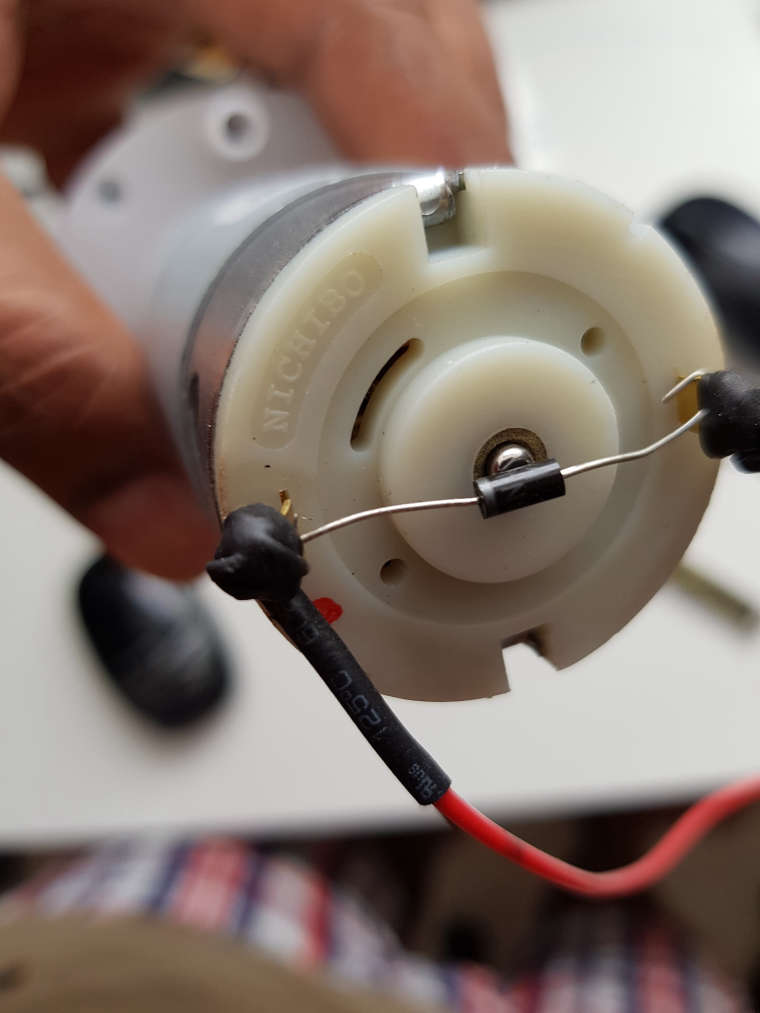
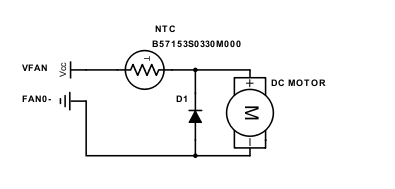
Another important aspect is to connect a flyback diode across the motor as mentioned in this forum. Otherwise, the surge in current could damage the motor and electronics board. Yo
You also need to change the configuration in the duet configuration file. You can check this forum to set the right parameters.
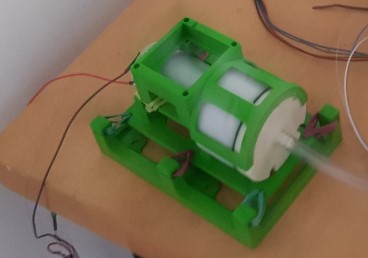
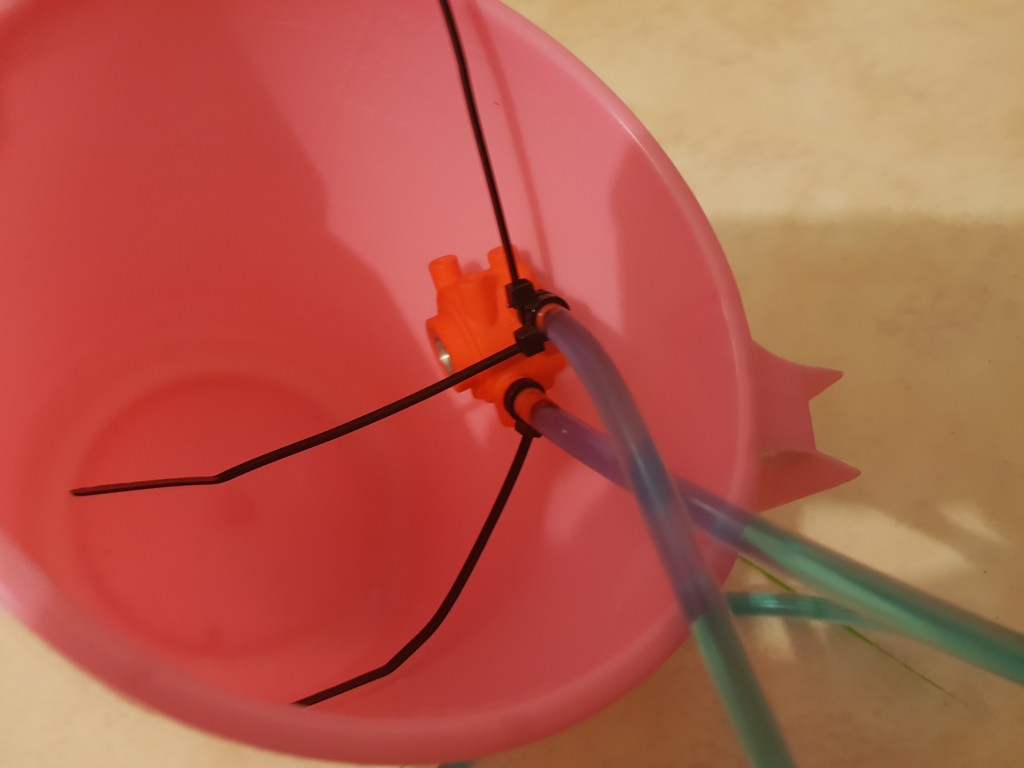
The aquarium pump vibrates a lot. It needs to have a proper mount and a cooling fan in case the pump heats up. Here is an excellent design from thingiverse. If you look at the picture below closely, the parts are attached to the motor using rubber bands to absorb the vibration. It has also a provision for a fan (not attached in the below picture) to cool the pump.
Here is a small video showing the berd air in action ( Loud noise while you are on headphones)
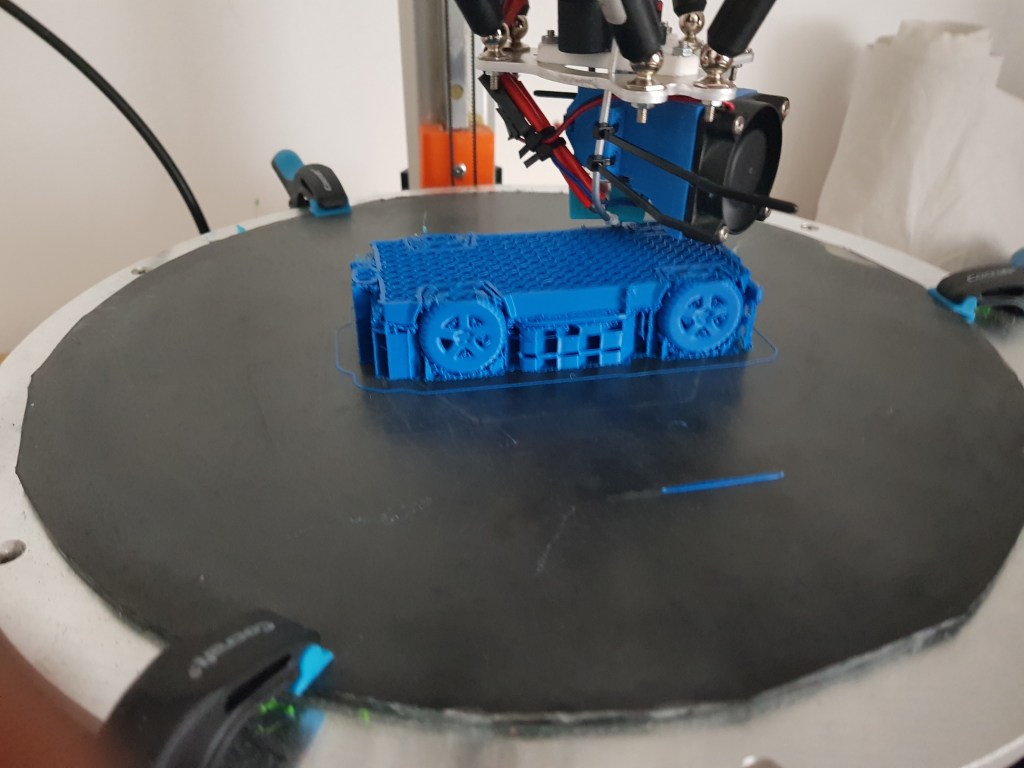
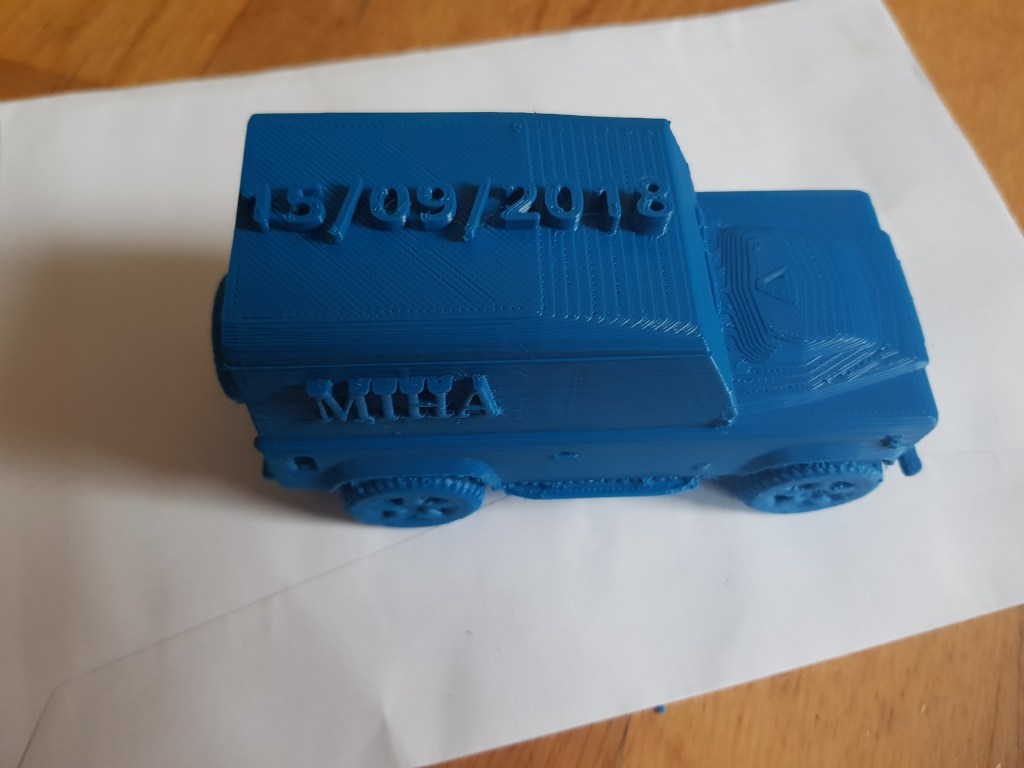
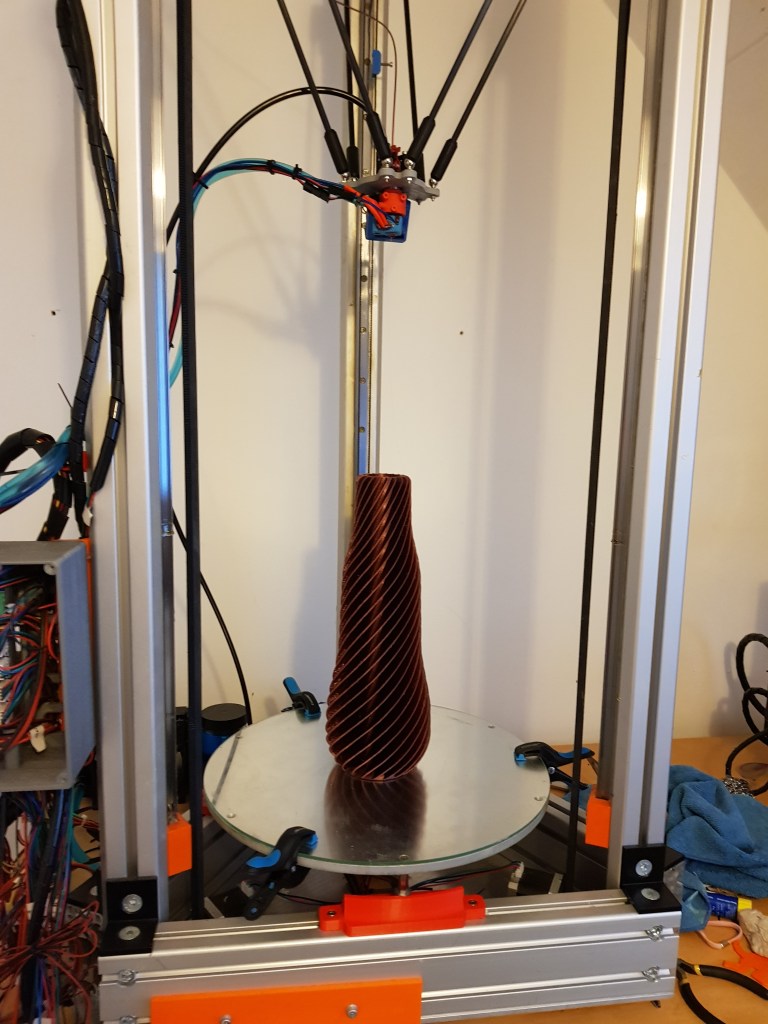
Here is the berd air system printing a model range rover car as a gift for a friend of my friend.
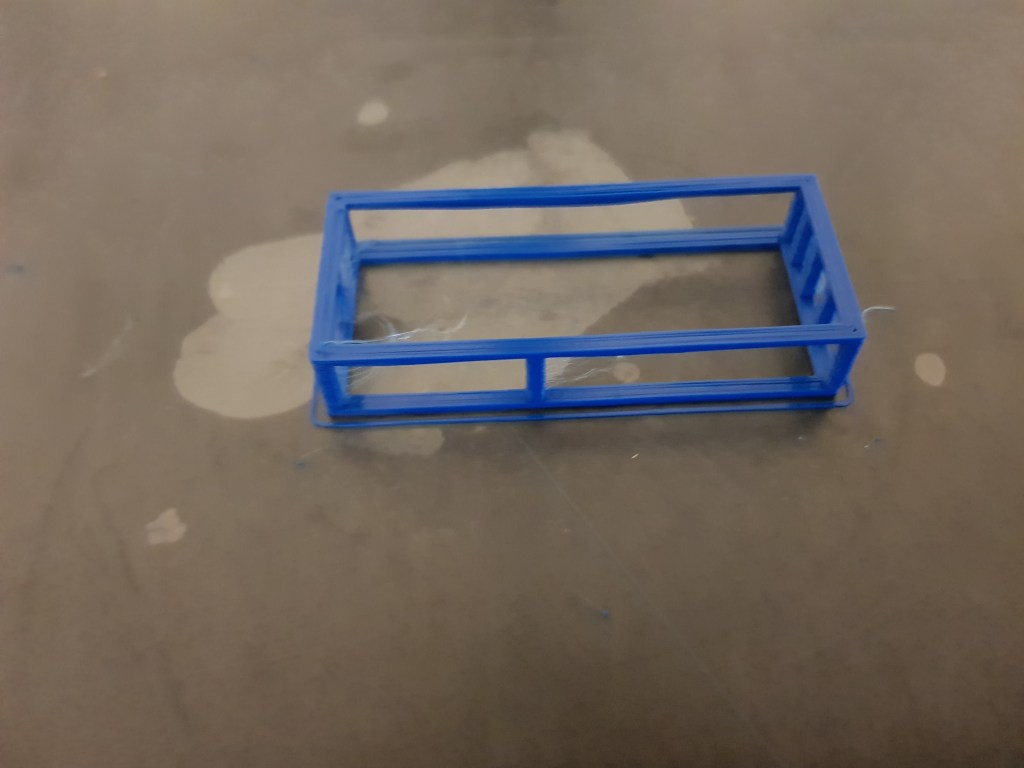
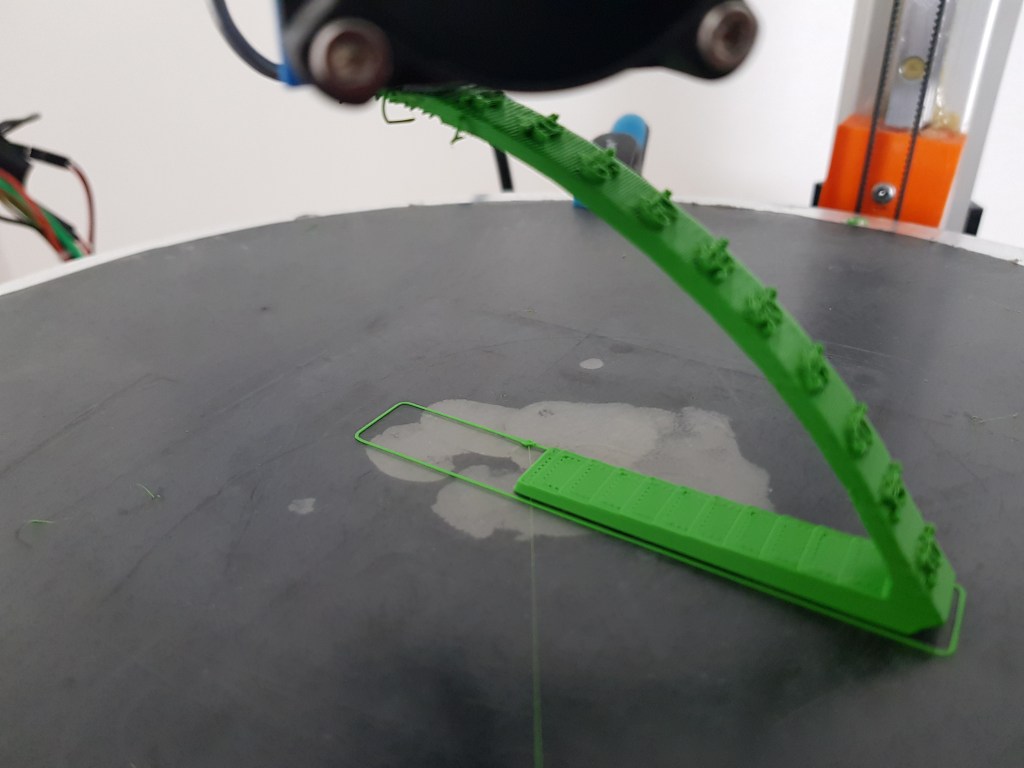
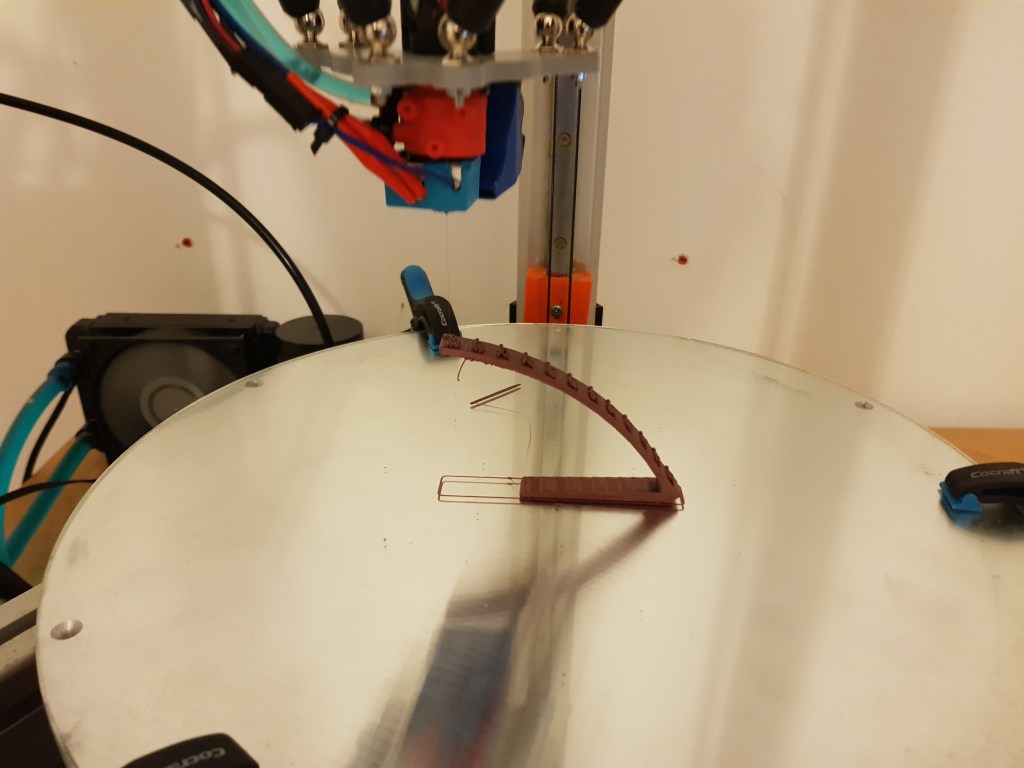
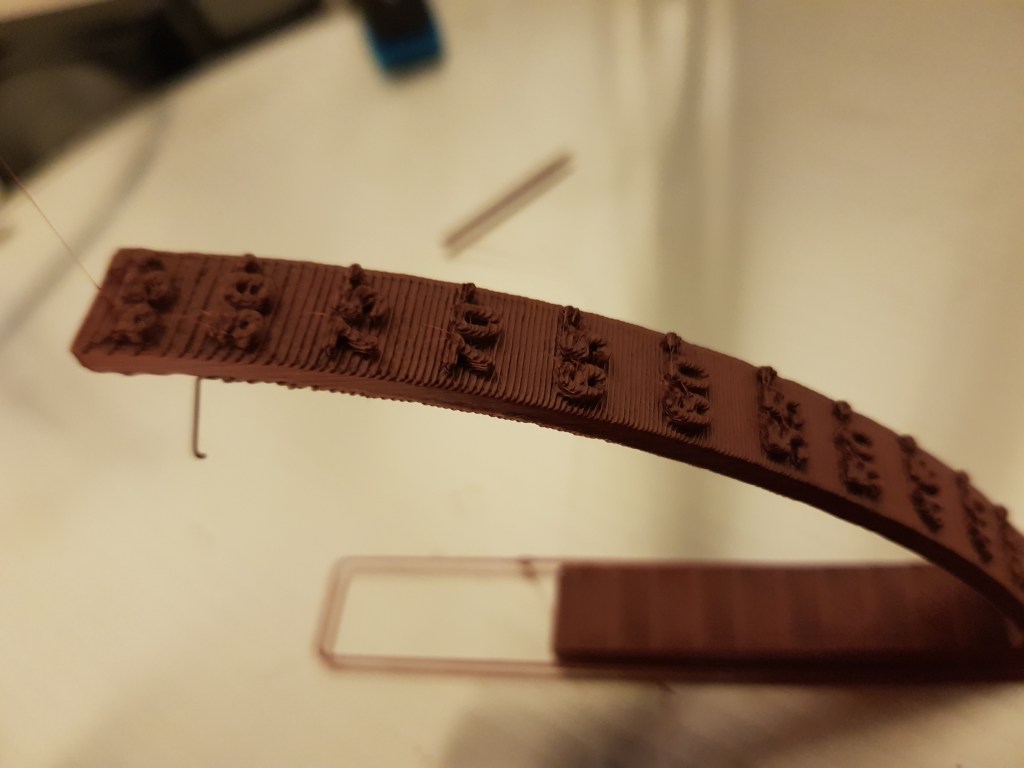
I did a bridge testing with berd air cooling system and it looks decent.
To have a fair comparison, I used the overhang angle test. If you remember, the 40mm cooling fan was very good till 75 degree overhang angle but the berd air is good only 70 degree overhang angle. Berd air nearly matches the fan performance in a normal printer.
In printers with heated enclosure, the berd air will have an edge over fan cooling system. Another disadvantage of berd air cooling is the noise of pump and the hissing sound from aluminium tubes. For me, it was difficult to stand the noise. Use berd air cooling system if and only if you have a strong reason, otherwise stick with 40 mm fan cooling system. Now, we will move on to water cooled heat sink called Kryo from Zesty tech.
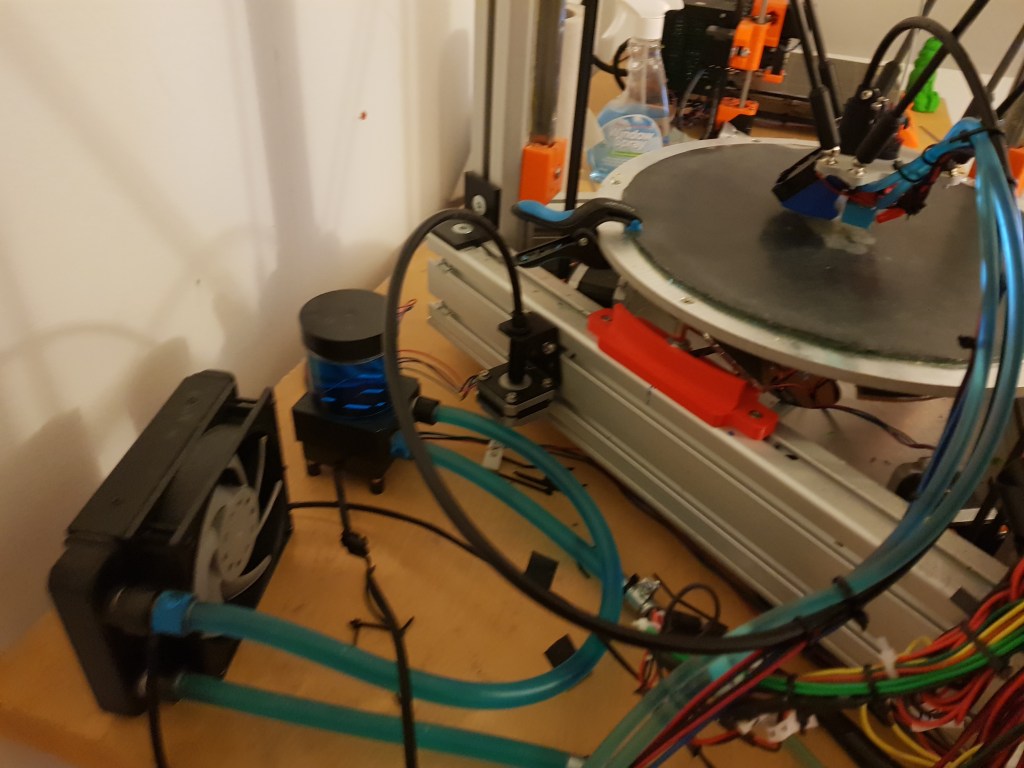
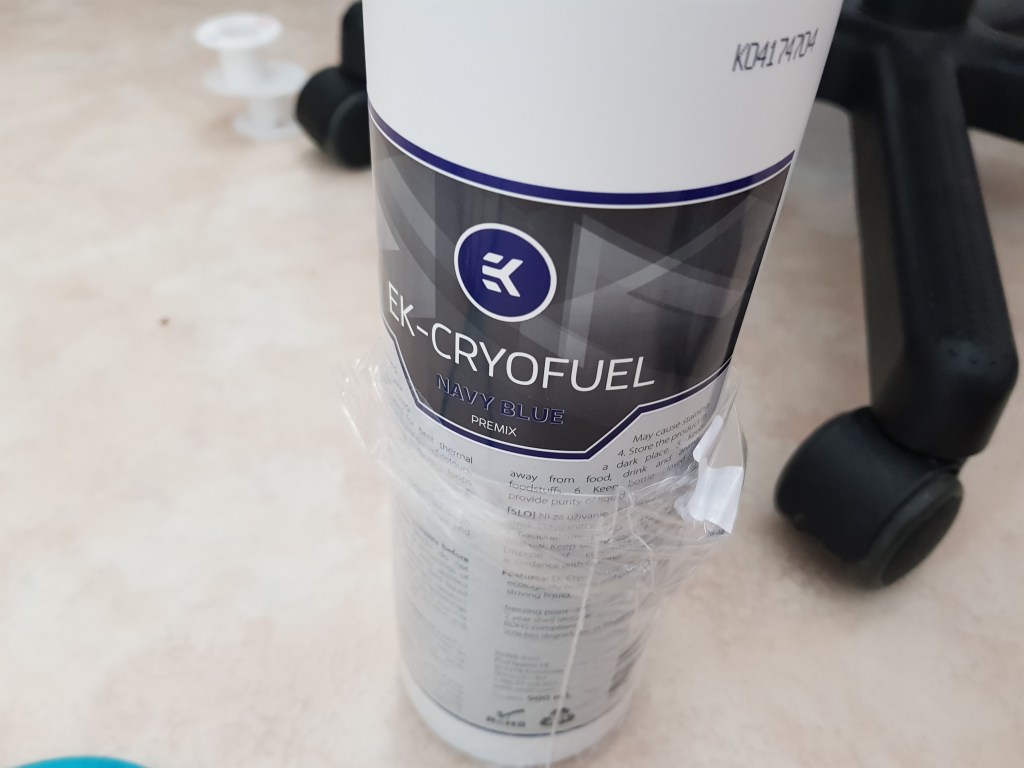
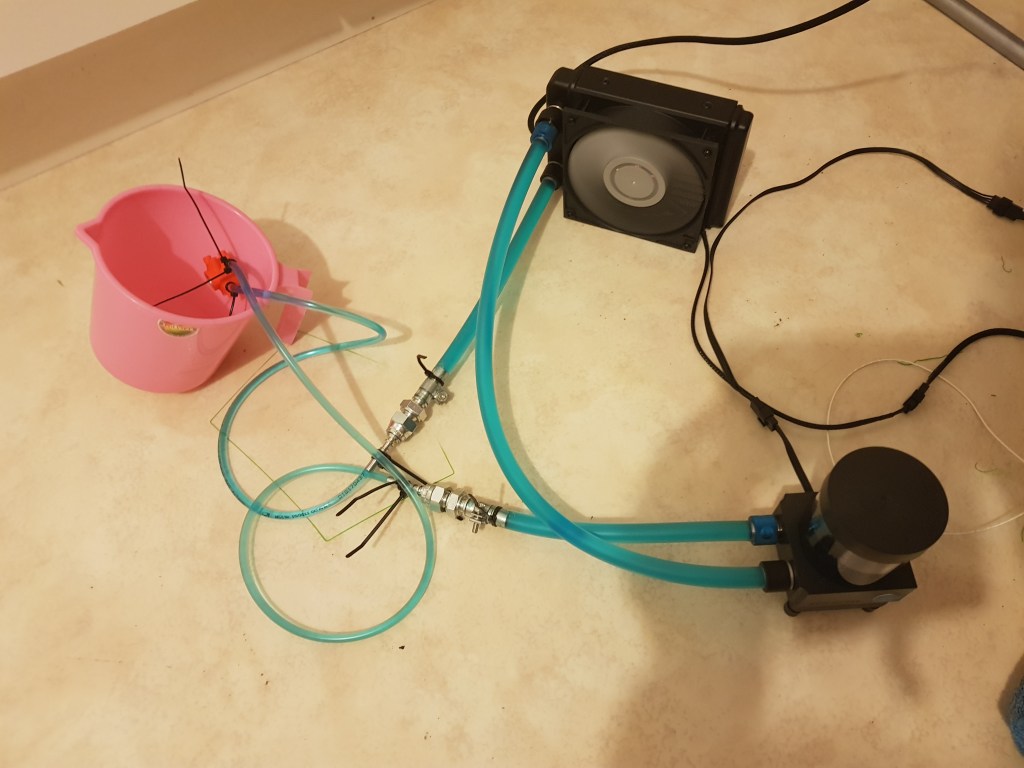
In water cooled heat sink, there is a water pump which circulates the water from sump to the heat sink takes the heat away from the sink, enter the radiator with cooling fins and fans, gets cooled close to ambient temperature before entering the sump again. The water keeps circulating. You can see the water pump set up and water cooled heat sink in the following pictures. I purchased the water pump and tubing were from local computer shop. I used EK waterblocks 120 mm radiator and some couplings. I used EK cryofuel, a coolant with corrosion inhibitor to protect the radiator and other metal systems.
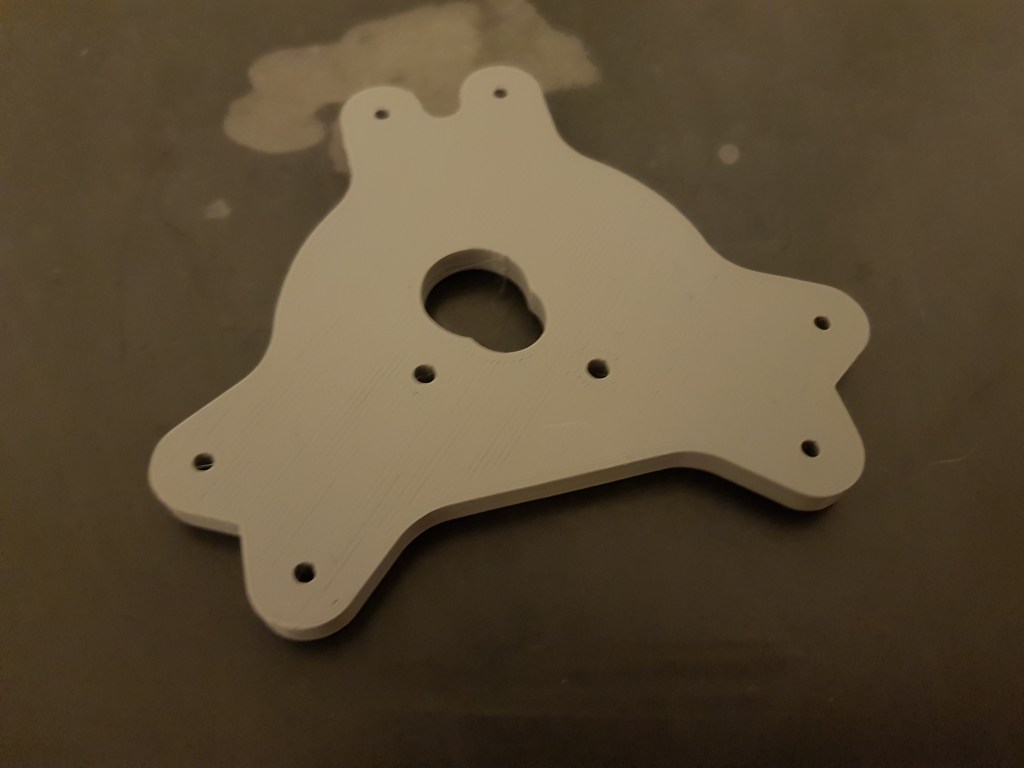
As you can notice in the picture above, I had to change the effector and fan mounts because of kryo’s geometry. The effector plate is based on laser cut aluminium plate and the fan mount was designed by Lykle.
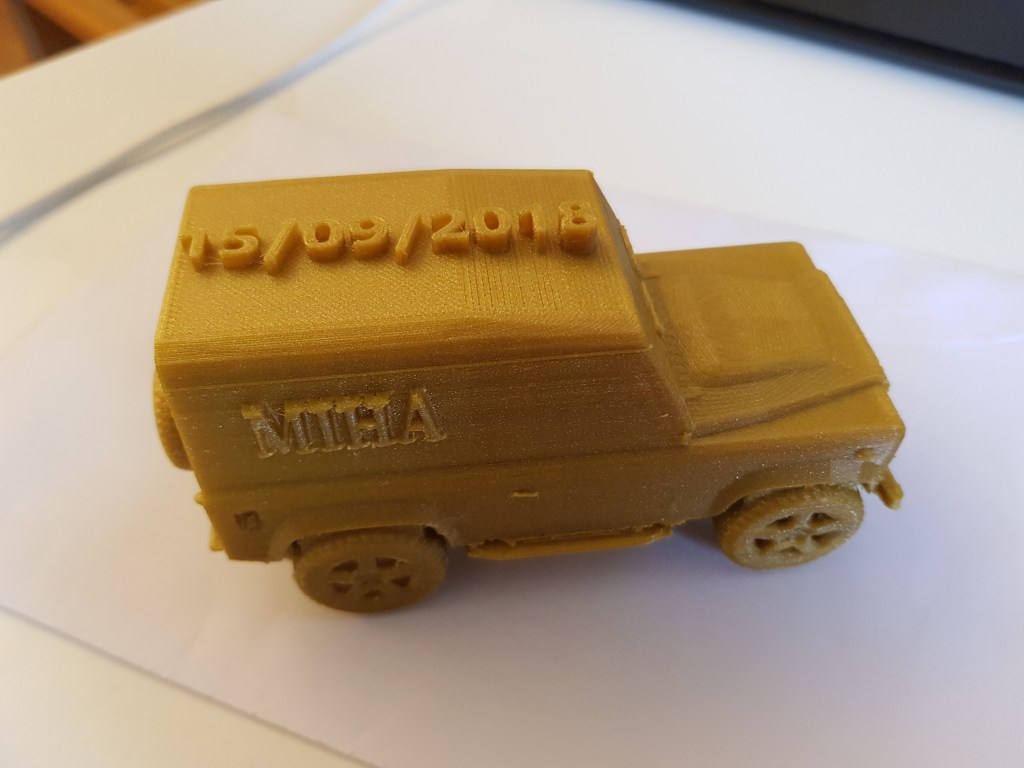
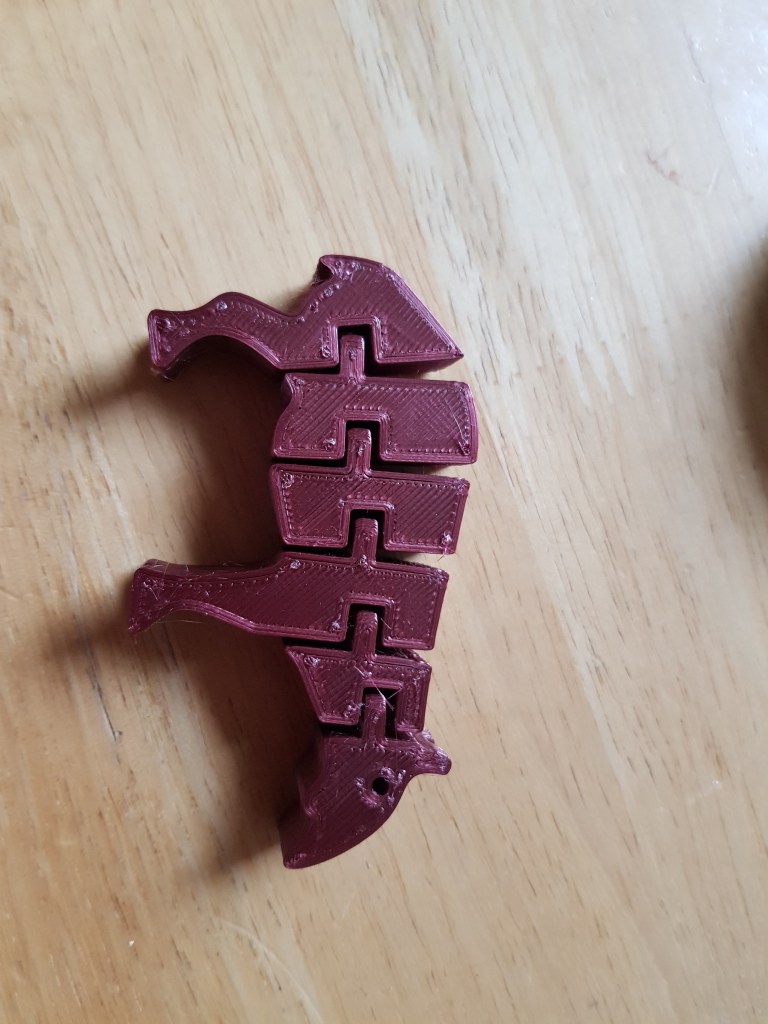
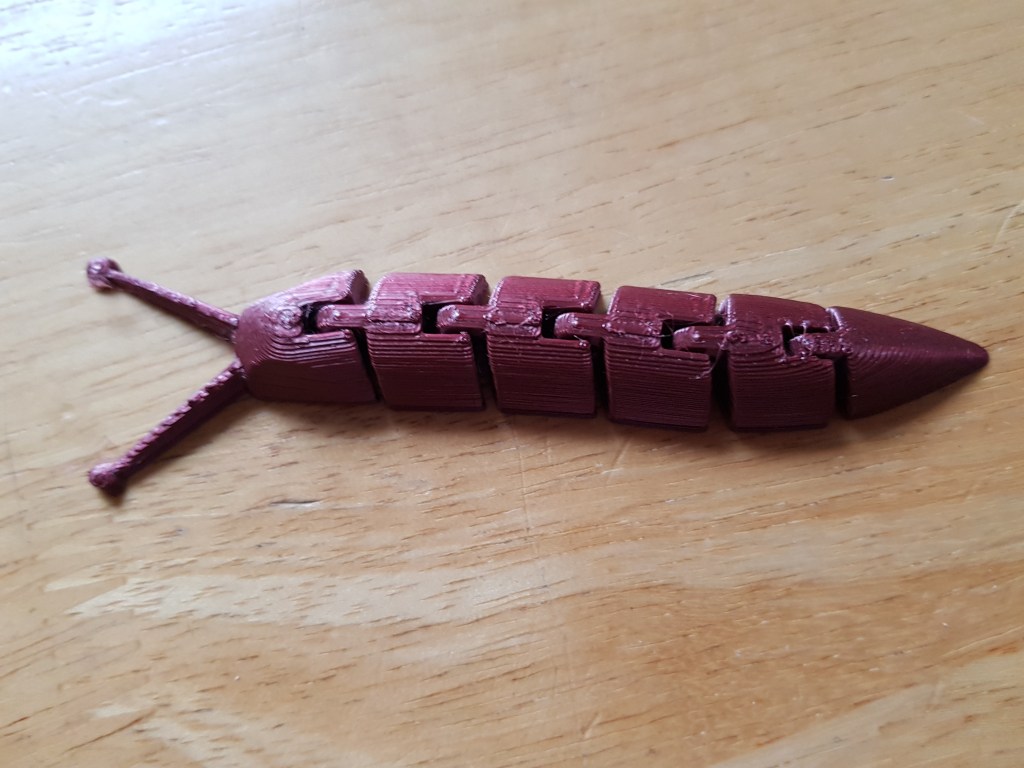
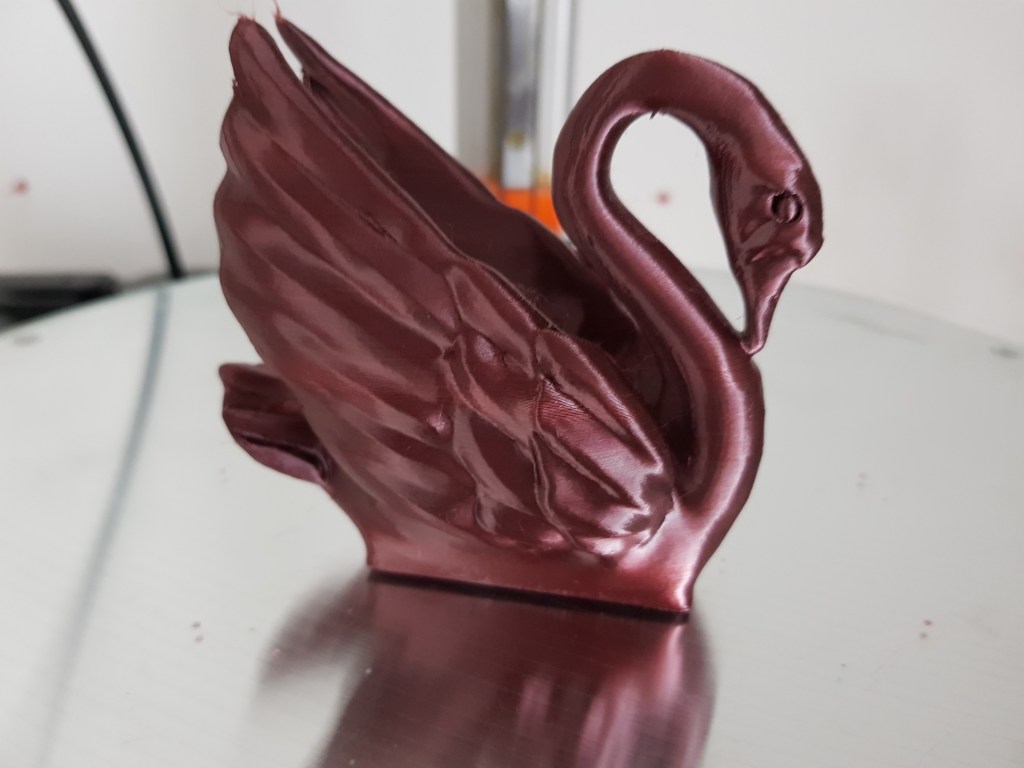
Other than these two changes, I continued printing with it. Here are some videos and pictures of parts printed with this setup:
Finally, the effectiveness of 40mm shroud by printing the overhang angle test:
You can see that the 40mm shroud fan is very effective. It prints without drooping till 75 degree angle, which matches the previous best.
My conclusion regarding water cooling is that if you have some money to spend and don’t mind the extra learning experience (read as work), you can go for it. I did not see anything negative because of switching to water cooled heat sink. Maybe you have to put some effort in designing effectors and mounts but it reduces the weight of the effector system by a lot. Theoretically, you can attach a volcano nozzle and increase the print speed for faster prints.
Conclusion:
You can reap maximum benefit from berd air cooling and water cooled heat sink only when you have a printer with heated chamber and printing some high temperature plastics, otherwise there are not so many benefits to justify the cost and effort for most of the printing enthusiasts.
In the next post, I will talk about using nimble along with smart effector from duet3d.
