
Delta – Extruder – Titan
In this post, I will start with Titan direct drive setup and my printing experience. You can buy E3D-Titan Extruder at E3D website and look at documentation. I used E3D-Titan direct 1.75mm version. You can refer to the picture below:
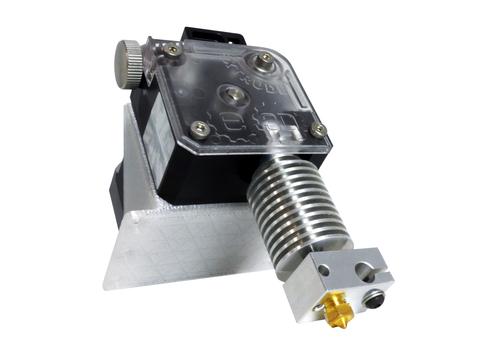
A minor tip but a very important one is the use of silicon socks, it helps to maintain stable thermal performance and insulate the heater block from part cooling fan or other factor that can cause the temperature to fluctuate.

I used 24V 40W heater cartridge for faster heating. Once you assemble the E3DV6 hot end and Titan extruder, we need to mount it on an effector plate so the extruder can be moved around. We also think about how to integrate part-cooling fan with heat sink, so we can print overhangs and bridges effectively.
Here is my effector design CAD file for Titan Direct Drive 1.75mm extruder. I printed the effector with 100% infill to improve the stiffness. The spacing between arms is 64mm and ‘b’ spacing between adjacent arms is close to 40mm (centre to centre). This is how I could accommodate a Titan direct drive with a simple design.

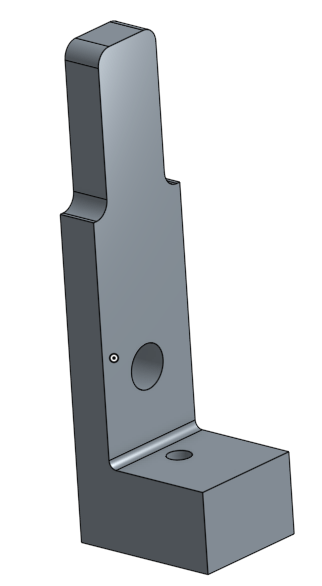
Here is the Titan motor mount bracket CAD file (green colour in video), where I use only 3 of the holes to fix it to the bracket.

I used two part cooling fans and one heat sink cooling fan, all three of them are 40mm axial fans. Here is the heat sink cooling fan mount CAD file, note that I have two holes on either side to mount part cooling fans. The holes at the back of the fan mount is used for zip tie to tighten the fan mount around E3DV6 heat sink.

Here is the CAD file for part cooling fan mounts. The fans are mounted via 3mm screws to the heat sink cooling fan mount.

I have also designed a strain relief for wires both at the effector side and tower side, so that the wires don’t twist or cause the effector to tilt.
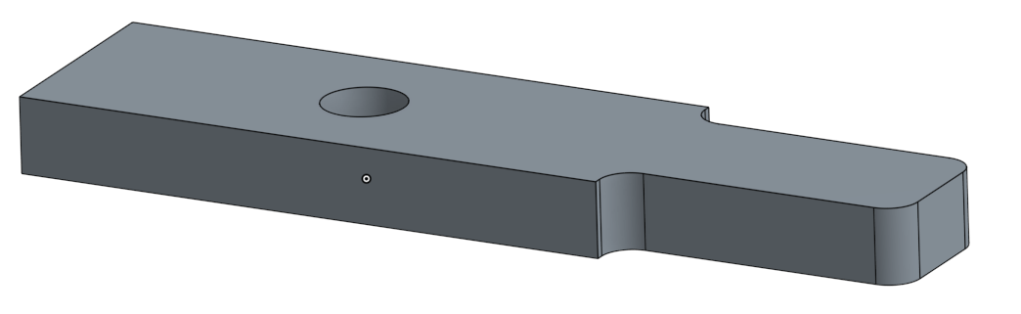
Here is the CAD file for effector side strain relief:
Here is the CAD file for tower side strain relief:
Here is a video showing the whole setup with 40mm axial fans. You can see the effectiveness of these fans in this “bridge” test.
The axial fans were very loud, I thought I could use Noctua fans to reduce the noise. The CFM rating for Noctua fans are less than standard axial fans in ebay/amazon, anyways I gave a try and here is a video showing the effectiveness of these Noctua Fans.
You can see there is some sagging in the middle compared to standard axial fans, it is because the fan flow (CFM) is not enough. These fans are 12V, there is not 24V version, so I had to use buck converter to step down the voltage. Here is the buck converter and how to connect it to Duet electronics.

Here is a video showing the effector, Fan mounts, heated bed, FSR setup, buck converter, power supply, strain relief at effector and tower side and duet electronics. The wires are all around because I was in experimentation mode.
I tried Radial fans (not the standard blower fan), please look at the picture below:

Here is the CAD file for blower fan mount:

You can have a look at another video of blower fan mount in action:
These fans performed at par with Noctua fans but they were loud. If I have lot of overhangs and bridges, I would choose the axial-fans they gave me the best results. If not, I will go with Noctua fans, they are aesthetically pleasing, does the job and most importantly, they are very silent, you cannot even differentiate between on and off state of these fans. I highly recommend them, if you have some extra money to spend. Otherwise, stick with axial fans.
Here comes the 3D printed parts gallery from this setup:

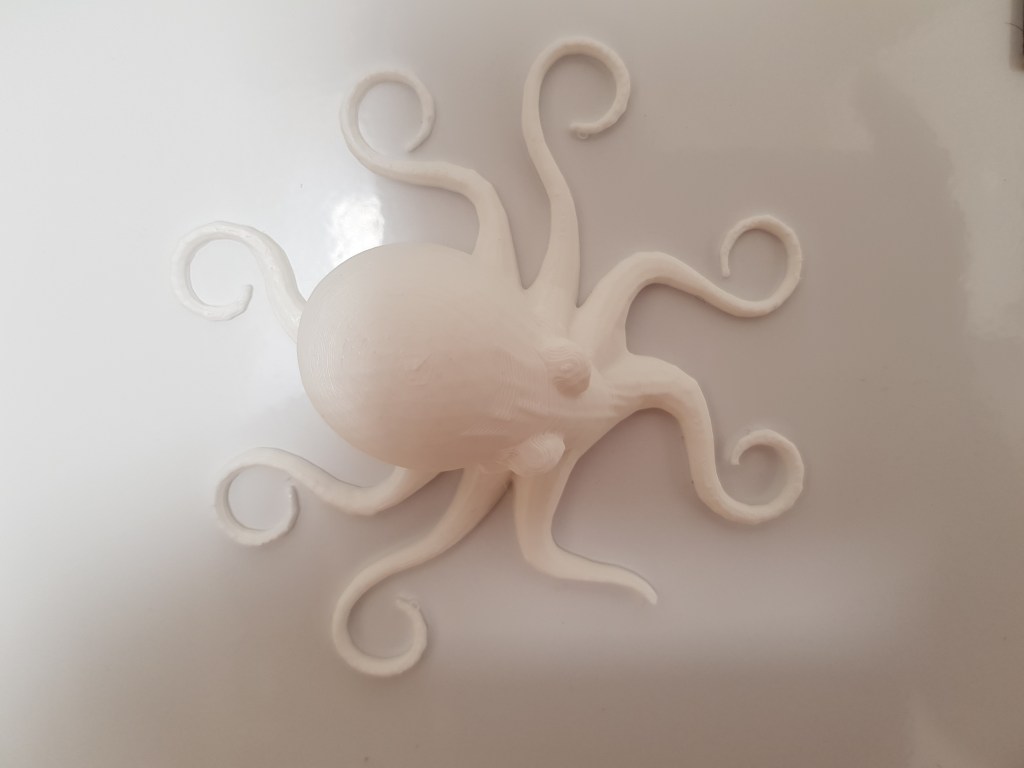

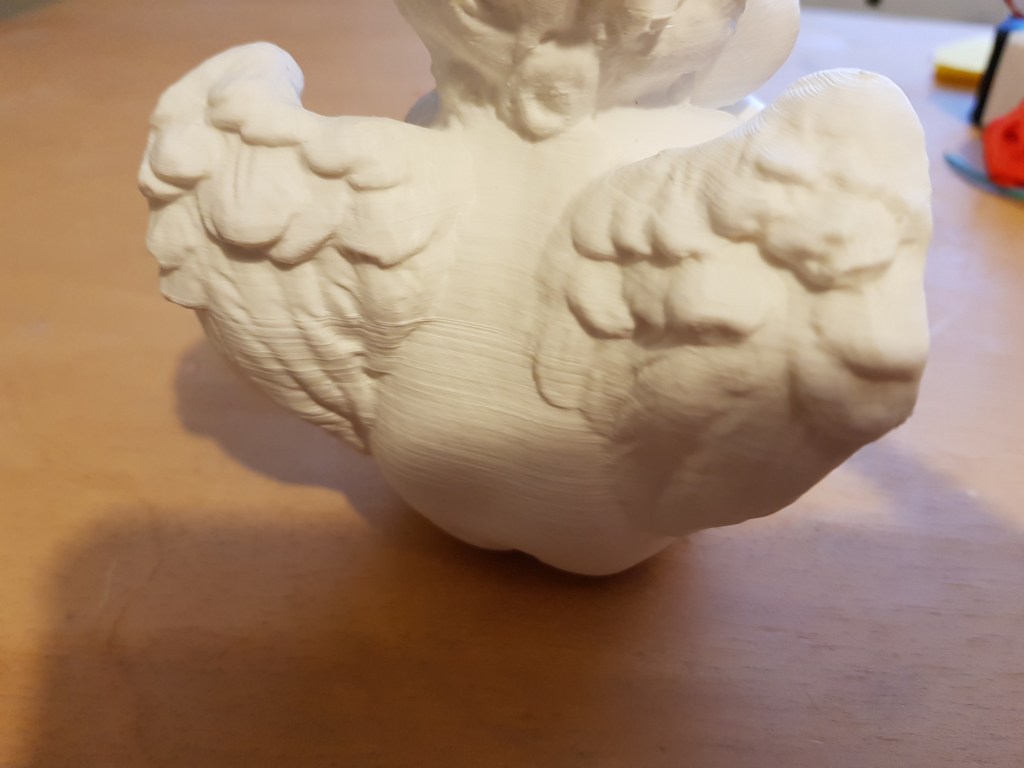


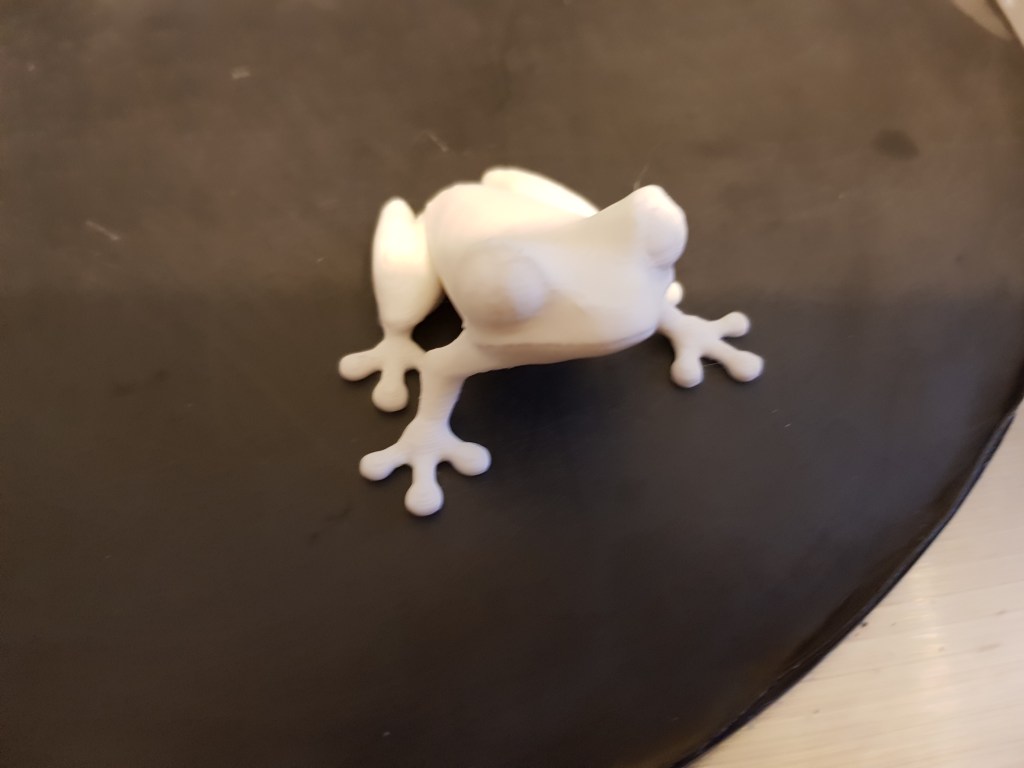
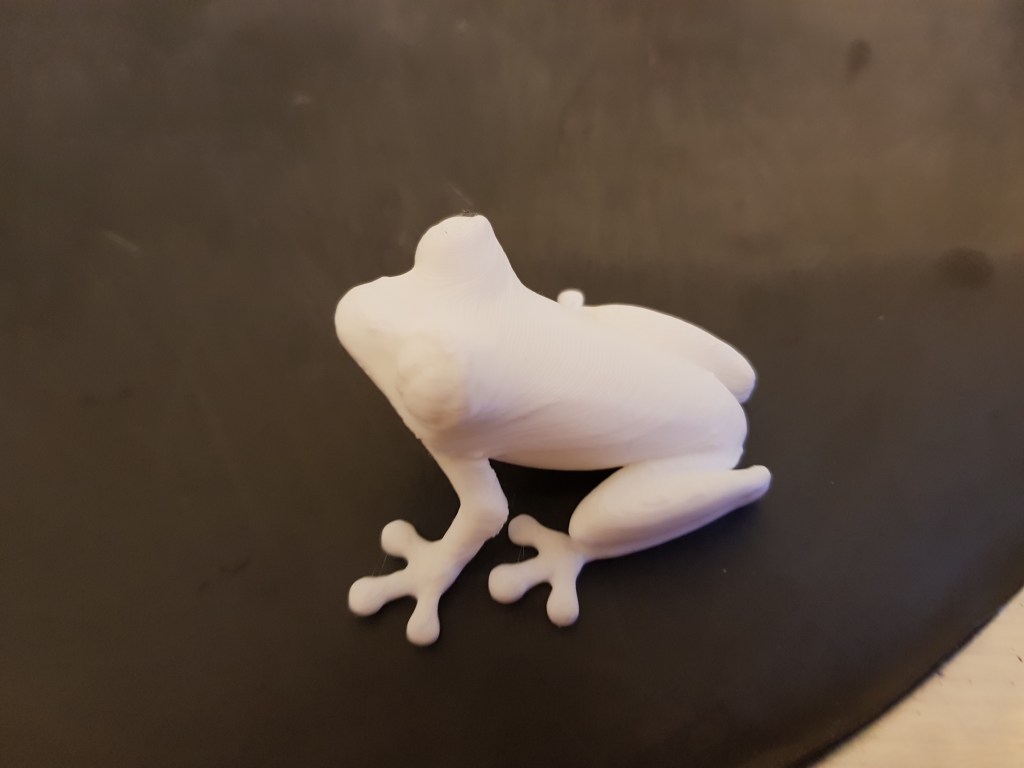
Remember that these experiments were done during August – October 2017. I just started getting successful prints and with successive experiments, I was able to tune various parameters and get more aesthetic prints.
The extruder and experiments in the coming posts will follow the same logical flow of this post.
- Extruder description
- Effector plate – design
- Fan mounts
- Modifications and their effect on prints – Gallery
I hope I have given you some useful information or tips in this post. In the next series of posts, I will talk about Nimble extruder.
